Disclosure: This post may contain affiliate links. As an Amazon Associate, we earn from qualifying purchases—at no extra cost to you.
There’s something about apple bars that brings me straight back to the kitchen of my childhood home in Georgia. Every fall, my mom and grandmother would rally the family to gather apples from a local orchard. We’d come back with worn baskets filled to the brim, and the scent of cinnamon and brown sugar would fill the air by sundown. Apple pies were the star, but my aunt Nancy? She made the stickiest, most satisfying apple bars I’ve ever tasted. I’d argue they were better than pie. Years later, living in Austin and experimenting with flavors, I decided to create my own version—soft, chewy, layered with spiced apples, and a hint of crunch that makes the bite complete.
What sets my apple bars apart? They’re minimal-fuss, full of comfort, and easy to adapt for any kitchen level. In this article, we’ll walk through what makes a great apple bar, how to make them, and tips to store or freeze so you can enjoy them long after baking. Whether you’re a seasoned home cook or a curious beginner, you’ll soon have your own go-to apple bar recipe you’ll be proud to share.
What Makes Apple Bars an Irresistible Favorite
The Texture Story: Why These Bars Work So Well
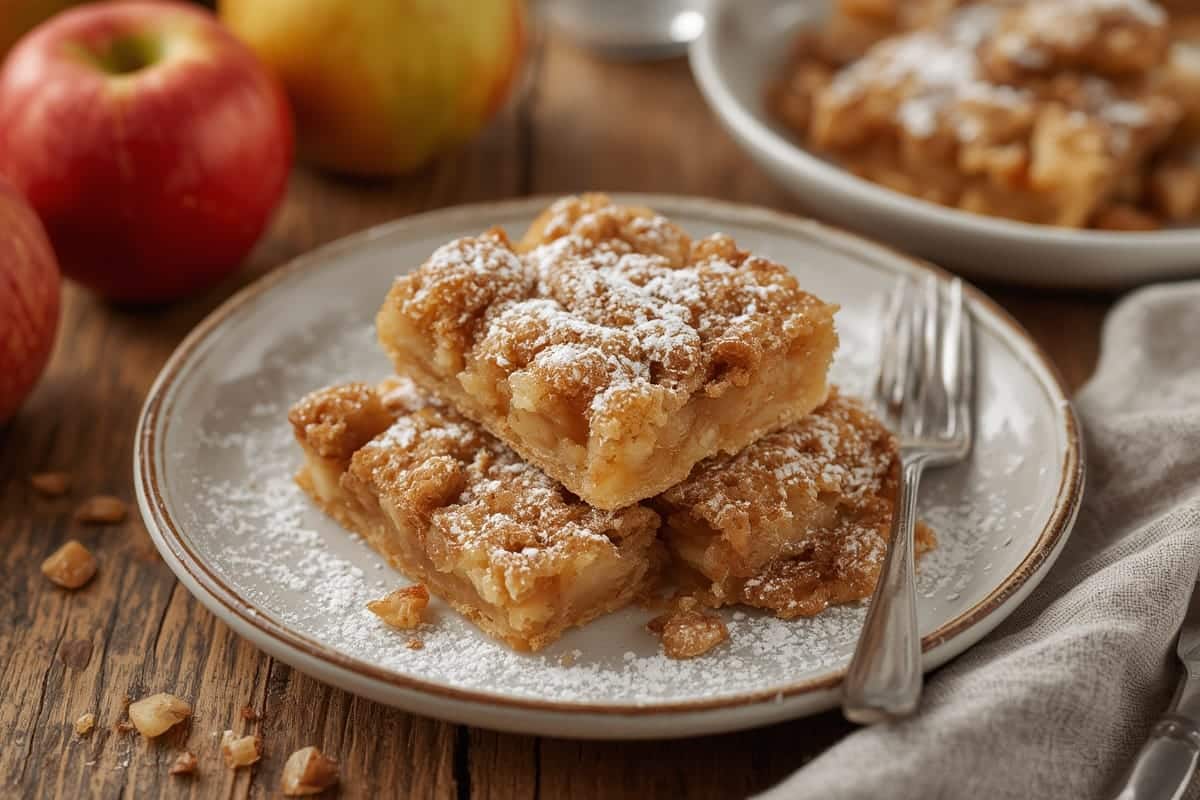
Apple bars bring the best of all dessert textures into one pan—chewy bottom, tender middle, and a golden top with just the right bite. That’s no accident. The moisture from fresh apples melts into the batter during baking, making each square soft but never mushy. Balanced with oats or nuts for texture and the cozy warmth of cinnamon and nutmeg, these bars are friendly to both sweet lovers and spice seekers.
Unlike apple pies, which require significant prep and careful lattice work, bars are much more forgiving while still delivering flavor-packed satisfaction. That’s especially useful on busy weeknights or if a viral blueberry cobbler recipe is already taking your oven space.
Fall-Inspired Flavors with Year-Round Appeal
Apple bars typically shine in autumn, but there’s no rule (in my kitchen, at least) that says you can’t serve them in spring or summer. Using Granny Smiths gives a tart base for warm spices, while Pink Ladies or Honeycrisps add honeyed softness without making the bars too wet. I often use a mixed batch for deeper flavor.
In Texas, these bars make frequent appearances at potlucks and holiday brunch spreads. You’ll find them nestled in with other fruit dessert ideas, and they disappear fast. They’re rustic, unfussy, and impossibly good paired with a cup of spiced tea or dark roast coffee.
Let’s Bake It: Ultimate Apple Bars Recipe
Ingredients List: What You Need (And How to Switch It Up)
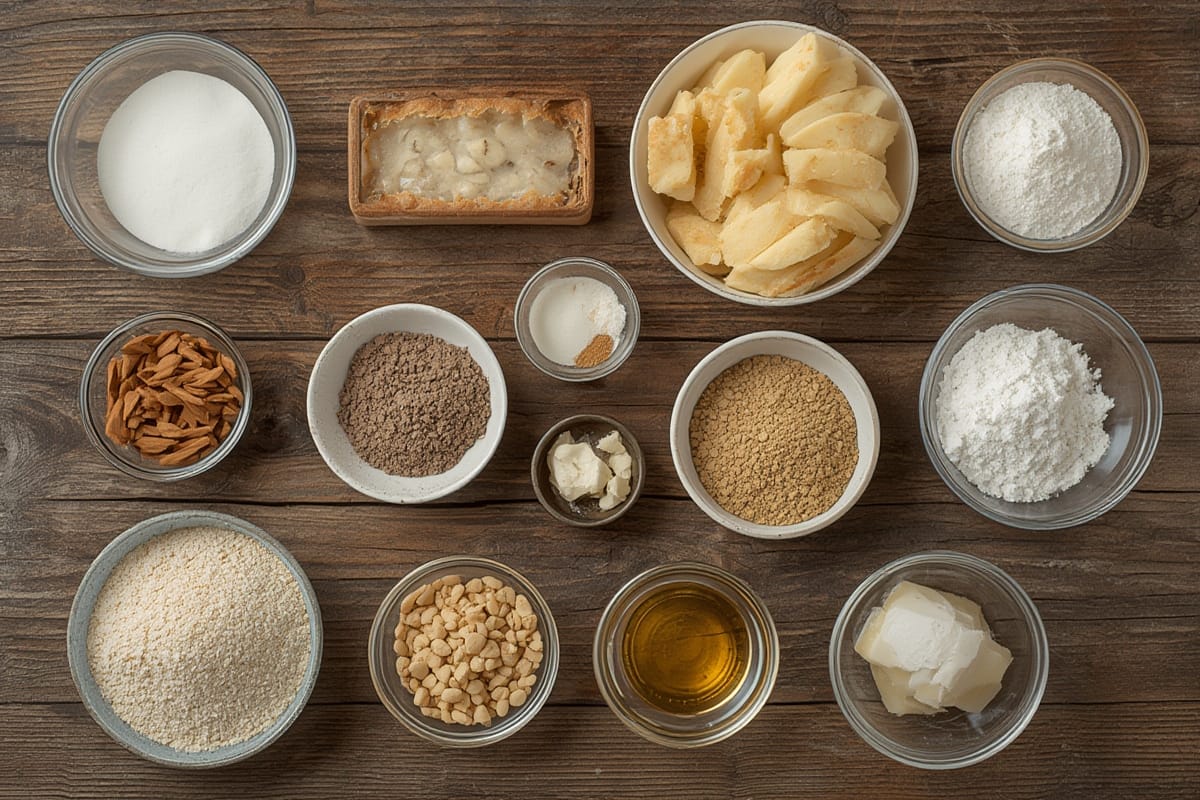
Here’s the magic lineup for apple bars that come out golden and spiced just right:
- 2 cups tart apples, peeled and finely diced (Granny Smith or Honeycrisp)
- 1 cup all-purpose flour
- 1/2 cup rolled oats
- 1/2 teaspoon baking soda
- 1/2 teaspoon baking powder
- 1/4 teaspoon salt
- 1 teaspoon ground cinnamon
- 1/4 teaspoon nutmeg
- 1/2 cup brown sugar, packed
- 1/4 cup white sugar
- 1/2 cup avocado oil or neutral vegetable oil
- 1 large egg
- 1 teaspoon vanilla extract (ensure alcohol-free)
- Optional: 1/2 cup chopped walnuts or pecans
If you prefer a gluten-free version, substitute the flour with almond flour or oat flour. Want more protein? Sneak in a tablespoon of unsweetened peanut butter or ground flaxseed.
Timing Breakdown: From Prep to Plate
Timing is straightforward, and these bars won’t hijack your schedule.
| Step | Duration |
|---|---|
| Preparation Time | 15 minutes |
| Baking Time | 30 minutes |
| Cooling Time | 15 minutes |
| Total Time | 60 minutes |
These take about 20% less time than traditional apple pie—and deliver all the flavor.
Step-by-Step Instructions: Easy and Fun
- Preheat your oven to 350°F and line an 8×8 baking dish with parchment paper.
- In a medium bowl, whisk flour, oats, baking soda, baking powder, salt, cinnamon, and nutmeg.
- In a large mixing bowl, whisk together brown sugar, white sugar, oil, egg, and vanilla until smooth.
- Stir the dry ingredients into the wet mix until just combined.
- Fold in the diced apples and nuts, being sure not to overmix.
- Spread the batter evenly into the prepared dish.
- Bake for 28–32 minutes or until a toothpick in the center comes out clean.
- Cool in pan for 15 minutes, then lift out and slice.
Pro tip: Use a cooling rack for even air flow during cooling. It keeps the base from getting soggy. For serving, consider a light drizzle of honey or warmed date syrup.
Customizing Apple Bars for Any Occasion
Family Favorites with a Modern Twist
Thanks to their versatility, apple bars adapt beautifully to any trend. Want something on the cleaner, high-protein side? Swap half the flour for almond meal and amp up the nuts. Got a sweet tooth? Top with a cinnamon-maple glaze or dust with confectioner’s sugar before serving.
I’ve even added a layer of cream cheese filling for a cheesecake-bar hybrid. And yes, they made their way onto my son’s graduation party dessert board—right next to other easy bar recipes.
Make-Ahead & Freezer Tips
One of the best parts? These bars freeze exceedingly well. Once cooled, wrap slices individually in cling wrap, then place in a freezer bag. They’ll keep for 2-3 months. Thaw overnight in the fridge or warm gently in the toaster oven. To prevent soggy bottoms during reheating, place them on a baking rack.
A helpful addition: store them with a silica food-grade moisture absorber packet if you’re meal prepping weeks ahead.
If you’re curious about the science behind why apples maintain texture and flavor in baked goods, try reading this post from the USDA. It explains apple cell structure and moisture retention during cooking.
Long-Term Freshness & Creative Servings
Storage & Shelf Life
Homemade apple bars can last up to 5 days when stored properly in an airtight container. Keep them in a cool part of your kitchen, away from sunlight. If your house runs warm or humid, refrigeration is a must. Just remember to let them reach room temp before serving to bring out the full flavor.
Want to impress your brunch guests? Serve them warm with a scoop of coconut ice cream and a sprinkle of chopped nuts. Don’t forget the tiny fork and napkin—brown sugar caramel can get delightfully sticky!
Best Apple Pairings & Tools
Not all apples are created equally, and the right choice makes a real difference. Tart apples like Granny Smith pair well with brown sugar and spice, while Fuji or Gala soften faster and create moister bars. For optimal slicing and peeling, I swear by this ergonomic peeler and compact apple slicer that gets the job done in seconds.
And remember: the sharper the knife, the cleaner the cut. A 6” chef’s knife is my go-to for clean, defined edges.
FAQs About Apple Bars
How do you keep apple bars from getting soggy?
To prevent sogginess, use fresh apples with moderate moisture (like Fuji or Honeycrisp), bake thoroughly, and allow the bars to cool completely on a wire rack to release steam. Avoid covering them while warm.
Can apple bars be frozen?
Absolutely. Once cooled, wrap them tightly and store in a freezer bag. They’ll last up to 3 months. Reheat in a toaster oven for best texture retention.
What apples are best for bars?
Granny Smiths for tart firmness, Honeycrisp for balance, or Pink Lady for mild sweetness. Combining varieties adds depth and texture.
How long do apple bars last?
Stored in an airtight container at room temperature, they last up to 5 days. Refrigerated, they stretch to 7, and frozen, up to 3 months.
Conclusion
Apple bars aren’t just a dessert—they’re a tribute to family stories, fall afternoons, and kitchen experimentation. They combine ease with elegance, flavor with nutrition, and tradition with creativity. Whether you’re looking for a go-to sweet or just want something warm and comforting out of your oven, these chewy, spiced apple bars are it.
Try them today and let them become a staple in your kitchen like they are in mine. Once you’ve tasted that first apple-packed bite, you’ll definitely be coming back for seconds.
PrintSouthern-Style Chewy Apple Bars
- Total Time: 60 minutes
- Yield: 9–12 squares 1x
Description
Soft, chewy, and filled with perfectly spiced apples, these apple bars are easy to make and great for snacks, desserts, or brunch spreads.
Ingredients
2 cups tart apples, peeled and finely diced
1 cup all-purpose flour
1/2 cup rolled oats
1/2 teaspoon baking soda
1/2 teaspoon baking powder
1/4 teaspoon salt
1 teaspoon ground cinnamon
1/4 teaspoon nutmeg
1/2 cup brown sugar, packed
1/4 cup white sugar
1/2 cup avocado oil
1 large egg
1 teaspoon vanilla extract (alcohol-free)
1/2 cup chopped walnuts (optional)
Instructions
Preheat oven to 350°F and line an 8×8 baking dish with parchment paper.
Whisk flour, oats, baking soda, baking powder, salt, cinnamon, and nutmeg.
In a large bowl, mix both sugars with oil, egg, and vanilla.
Fold dry ingredients into wet until just combined.
Add diced apples and walnuts (if using), mix gently.
Spread evenly in pan and bake 28–32 minutes.
Cool 15 minutes in pan, lift out and slice.
Notes
Use a wire rack to avoid soggy bars.
Double the batch for potlucks or brunch boards.
- Prep Time: 15 minutes
- Cook Time: 30 minutes
- Category: Dessert
- Method: Baked
- Cuisine: American
Nutrition
- Calories: 220
- Fat: 10g
- Carbohydrates: 29g
- Fiber: 2g
- Protein: 3g
- Cholesterol: 20mg
Keywords: apple bars, chewy apple squares, fall dessert