Disclosure: This post may contain affiliate links. As an Amazon Associate, we earn from qualifying purchases—at no extra cost to you.
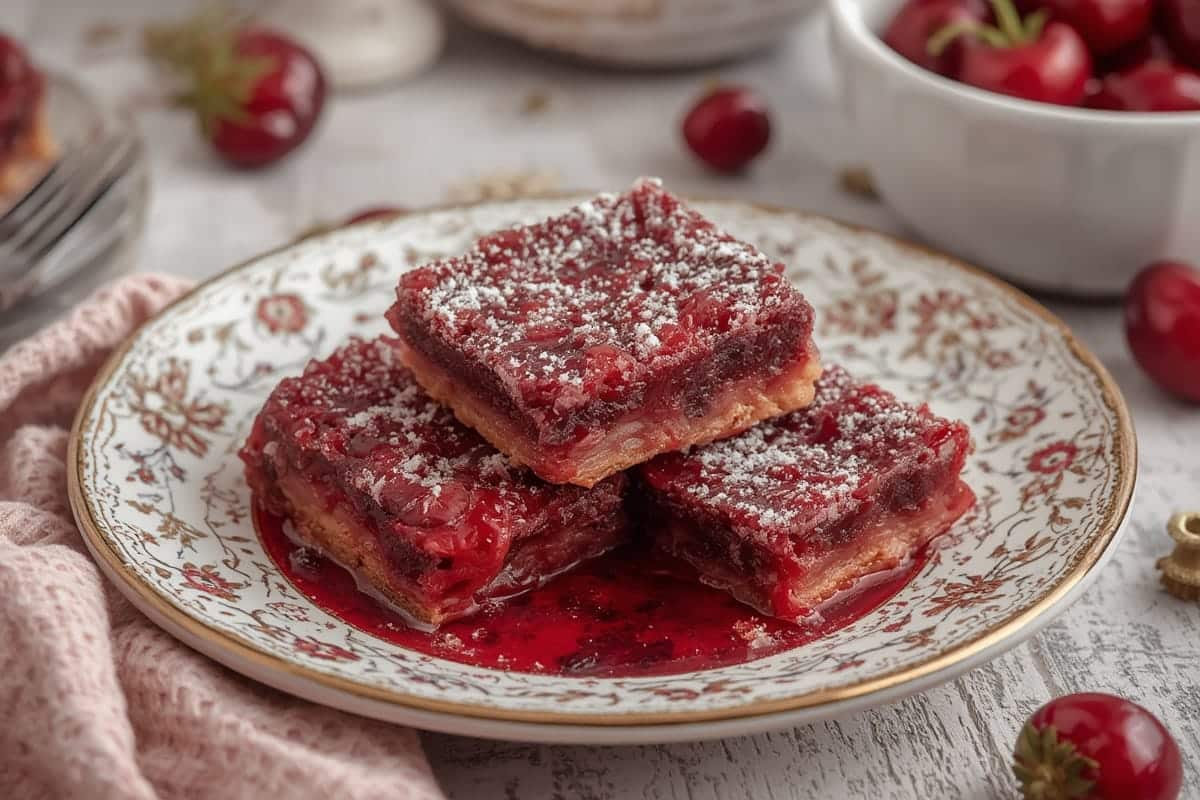
If there’s one treat I always crave when summer rolls around, it’s a pan of homemade cherry bars. Sticky-sweet, buttery, and bursting with cherry flavor—every bite tastes like a celebration. Today, we’re diving into how to make these irresistible cherry bars right from your own kitchen, along with the story behind my obsession with this crowd-pleasing dessert.
This article will walk you through my personal connection to cherry bars and what makes them so magical. From an old-school twist that dates back to my Georgia roots to new ways I’ve been making them trend online, I’ll guide you through each flavorful step. We’ll break down the ingredients, timing, techniques, variations, and tips to get perfect cherry bars every time.
Whether you’re baking for a summer potluck, prepping desserts for the week, or just can’t resist that cherry-on-top goodness, this is your ultimate guide. Let’s get whisking.
Cherry Bars and Southern Memories
Why Cherry Bars Just Feel Like Home
Growing up in Georgia, sweets were the punctuation mark at any family gathering. Sundays meant casseroles simmering and pies cooling on windowsills. But my Aunt Lorraine was the one who introduced me to cherry bars. With her flour-dusted apron and mischievous grin, she’d pull out a tray of these buttery fruit squares that had everyone reaching for seconds before dinner was even served.
Cherry bars quickly became more than dessert—they were a symbol. They brought people together, invited stories around the kitchen table, and left behind sweet crumbs and full hearts. Now decades later in Austin, those same flavor-packed bars still spark joy in my kitchen.
I’ve taken that basic cherry bars recipe and dialed it up with today’s viral flavors. Whether it’s folding in some cardamom for warmth or using a tangy cherry filling with less sugar, there’s always room for playfulness in the pan.
How Cherry Bars Fit into Modern Kitchens
What makes cherry bars so beloved today? For one thing, they’re incredibly convenient. With one bowl for batter and one pan to bake, they’re a minimalist’s dessert dream. Cherry bars also strike a balance between comfort food and polished presentation—they look fancy, but they’re secretly dirty-dish minimal.
Cherry bars also align perfectly with fast-moving kitchen trends. Like these viral one-pot meals and quick weeknight dinner recipes, they deliver maximum result with minimal effort—and that’s the kind of kitchen wisdom I live for.
Just like my take on easy rice recipes, cherry bars are a blank canvas for cultural fusion. Want to sprinkle roasted coconut flakes on top? Do it. Sub almond extract instead of vanilla? Go for it. They’re endlessly adaptable and always delicious.
Cherry Bars Ingredients, Time & Directions
What You’ll Need for the Ultimate Cherry Bars
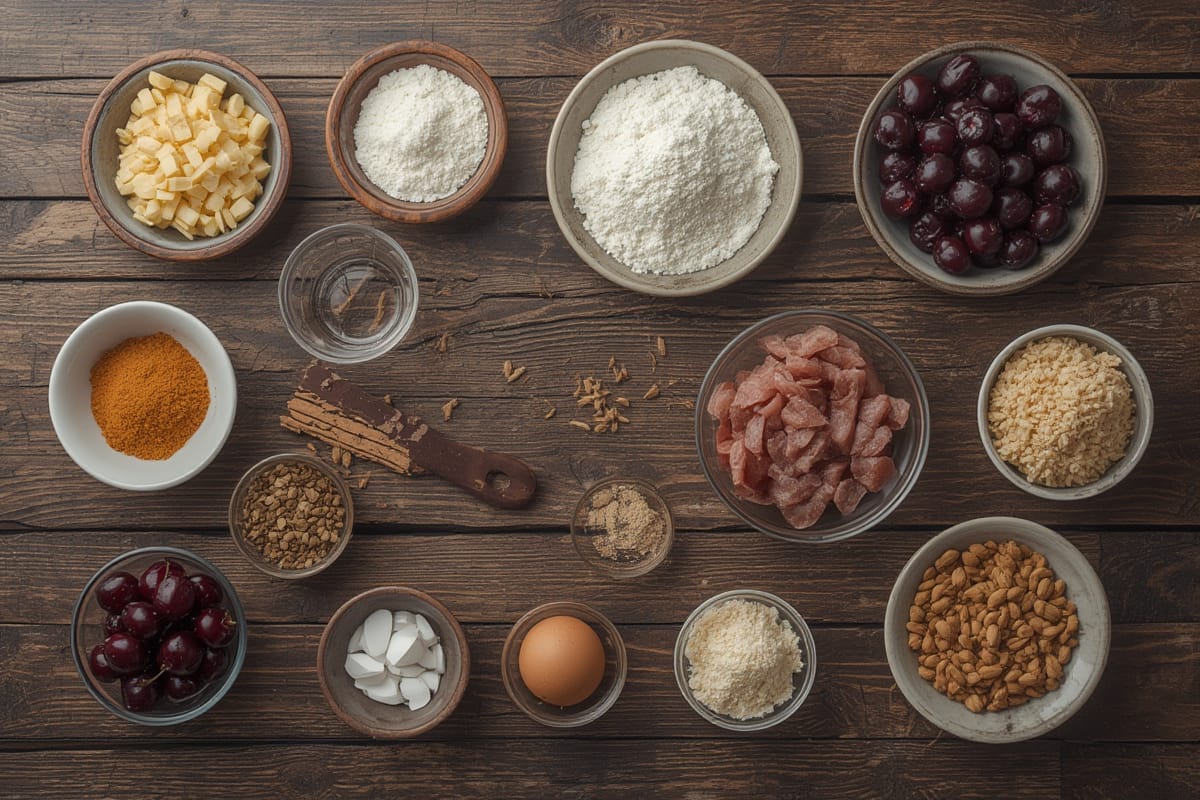
Cherry bars earn their spot as a favorite dessert because of their simple ingredient list and bold flavor. You can find most of these in your pantry, or grab them easily online:
| Ingredient | Details |
|---|---|
| Unsalted butter | 1 cup, softened |
| Granulated sugar | 1¾ cups |
| Eggs | 4 large |
| Vanilla bean | 1½ tsp (alcohol-free) |
| All-purpose flour | 3 cups |
| Cherry pie filling | 1 can (21 oz) or homemade |
| Powdered sugar | 1 cup (for glaze) |
| Milk or plant-based alternative | 2 tbsp |
Want a shortcut? This nonstick baking pan makes cleanup painless, while this affordable cherry pitter is a lifesaver for fresh fruit prep.
Timing: Prep to Pan in Under 1 Hour
These cherry bars will be ready in no time—perfect for last-minute guests or evening baking sessions.
- Prep Time: 20 minutes
- Bake Time: 35 minutes
- Cooling & Frosting: 15 minutes
- Total Time: 70 minutes
That’s about 20% less than similar desserts that require separate crust and topping layers.
Step-by-Step Instructions for Foolproof Cherry Bars
- Preheat your oven to 350°F and grease a 9×13″ baking dish or line it with parchment paper.
- In a large bowl, cream together the softened butter and sugar until fluffy (about 3 minutes).
- Beat in the eggs, one at a time, then add vanilla bean.
- Gradually mix in the flour, stirring until a thick batter forms.
- Spread two-thirds of the batter evenly into the dish.
- Spoon the cherry pie filling over the batter in a smooth layer.
- Drop spoonfuls of the remaining batter across the top.
- Bake for 35–40 minutes, or until the top is golden brown and a toothpick comes out clean.
- Let bars cool completely. Then mix powdered sugar and milk for a simple glaze and drizzle it over.
- Slice, serve, and enjoy!
Tip: For a slightly tangy twist, add a spoon of lemon juice to your glaze. And if you’re baking often, a good stand mixer will save your wrists and time.
Unlocking the Flavor of Cherry Bars
Fresh Cherries vs Canned Filling: What Tastes Better?
Plenty of folks ask if you can use fresh cherries in cherry bars. You absolutely can! In fact, summertime is the perfect excuse to grab a cherry pitter and get to work. Just remember: fresh cherries release more juice as they bake—so you might need to mix in a teaspoon of cornstarch to help thicken your filling naturally.
This is also where our external link fits beautifully. Learn safe food handling and preparation via this USDA guide on fruit storage and use.
Texture Talk: Why Are Cherry Bars So Addictive?
That sticky top? It’s a feature, not a flaw. It comes from cherry syrup blending into the top batter layer while baking. The result is a chewy, sweet crown that contrasts beautifully with the buttery cake base.
You can chill the bars for 10–15 minutes after they’ve cooled to help firm them up before slicing. Use a sharp serrated knife for precise cuts and wipe between slices for bakery-level presentation.
Want even cleaner results? Use this slicing scraper set to glide through the cherry bars and lift them with ease.
Serving, Storing & Cherry Bar Variations
How to Store (or Freeze!) Your Cherry Bars
Got leftovers? Cherry bars keep great in the fridge, lasting 4–5 days in an airtight container. They also freeze beautifully. Layer between wax paper in a freezer-safe container and keep up to three months.
Just thaw overnight in the fridge, loosen the glaze if needed with a quick zap in the microwave, and enjoy a homemade snack in no time. You might consider wrapping them individually using these reusable BPA-free freezer bags for easy grab-and-go storage.
Twists, Fusion, and Flavor Upgrades
One of my favorite ways to play with cherry bars is adjusting the fruit-filling game. You can swap in sour cherry preserves, raspberry compote, or even guava paste for a cultural remix.
And if you’re up for it, add some crunch! A sprinkle of slivered almonds or coconut flakes before baking levels up the texture game.
To enhance flavor complexity, a dash of almond extract or cardamom adds warmth without stealing the cherry spotlight.
Looking to really impress your guests? Serve a cherry bar with a dollop of coconut whipped cream and tea from a cast iron tea set for a plated dessert experience.
Frequently Asked Questions (FAQs)
Can fresh cherries be used in bars?
Yes, fresh cherries are fantastic in cherry bars. Just pit and dice them, and use cornstarch (about 1 tsp) as a natural thickener to prevent sogginess.
How do you thicken cherry filling?
Cornstarch or arrowroot powder works great to thicken cherry filling. A tablespoon per 2 cups of fruit should do the trick.
Can cherry bars be frozen?
Yes! Freeze in layers separated by wax paper. They’ll last up to 3 months and taste fresh when thawed in the fridge overnight.
Why are cherry bars sticky?
Natural sugars and cherry syrup migrate to the surface during baking, creating that signature glossy layer. Chilling them before slicing makes handling easier.
Conclusion
Cherry bars are more than dessert—they’re a tradition with endless potential for delicious reinvention. Whether you grew up baking them or are trying them for the first time, they offer a perfect blend of nostalgia, flavor, and adaptability.
With a buttery base, bold cherry punch, and sweet glaze drizzle, they’re sure to earn a permanent place in your home baking lineup. Try them today, play with toppings, and share the story they inspire. Because when it comes to cherry bars, one bite is all it takes to start a memory.
PrintEasy Cherry Bars
- Total Time: 70 minutes
- Yield: 24 bars 1x
Description
A quick, flexible, and flavorful cherry dessert bar recipe using pantry staples and bursting with cherry flavor.
Ingredients
1 cup unsalted butter, softened
1¾ cups granulated sugar
4 large eggs
1½ teaspoons vanilla extract (alcohol-free)
3 cups all-purpose flour
1 can (21 oz) cherry pie filling or homemade cherry compote
1 cup powdered sugar
2 tablespoons milk or plant-based milk
Instructions
Preheat oven to 350°F and grease a 9×13” baking pan.
Cream butter and sugar until light and fluffy.
Add eggs one at a time, then stir in vanilla.
Gradually mix in flour until batter forms.
Spread two-thirds of the batter into pan.
Layer cherry pie filling evenly on top.
Dollop remaining batter over the filling.
Bake 35–40 minutes until golden and toothpick comes out clean.
Let cool. Mix glaze and drizzle over bars.
Slice and serve once fully set.
Notes
Fresh cherries can be used with proper thickening.
Freeze well for up to 3 months.
Customizable with different fruit fillings or added crunch.
- Prep Time: 20 minutes
- Cook Time: 35 minutes
- Category: Dessert
- Method: Baked
- Cuisine: American
Nutrition
- Calories: 210
- Fat: 9g
- Carbohydrates: 32g
- Fiber: 1g
- Protein: 2g
- Cholesterol: 35mg
Keywords: cherry bars, easy cherry dessert, fruit cake bar, summer dessert