Disclosure: This post may contain affiliate links. As an Amazon Associate, we earn from qualifying purchases—at no extra cost to you.
From the time I was a kid in Georgia, Sunday dinners were like potluck feasts with a touch of magic. But there was one dessert I always begged my aunt to bring—her famous raspberry bars. Soft, crumbly layers hugged the sweet-yet-tangy fruit filling, and they always disappeared long before the second round of mac and cheese. Later on, when I got my own kitchen set up here in Austin, I set out to recreate and modernize those raspberry bars.
Nowadays, raspberry bars are having a serious moment online—and for good reason. They’re simple, packed with flavor, and wildly flexible. Whether you’re twisting them with lemon zest or swirling in a little almond, there’s endless room for a personal spin. In this guide, I’ll break down everything you need to know about making the gooiest, most satisfying bars, while keeping it quick, easy, and mess-free.
By the end of this article, you’ll gain trusted tips, ingredient swaps, baking strategies, and answers to pressing berry-related questions. Let’s get cozy and make a batch of these irresistible homemade raspberry bars.
What Makes Raspberry Bars So Irresistible?
A Balance of Sweet and Tart
What sets raspberry bars apart from ordinary fruit desserts is their beautifully balanced flavor. That tart punch of the raspberries complements the buttery crumble in a way that keeps you coming back for seconds—or thirds. Compared to a full-blown pie, these bars are way less intimidating and a lot more fun. You don’t need fancy equipment or advanced baking skills. In fact, with just a few pantry staples and some vibrant berries, you’re minutes away from a gorgeous treat with layers of flavor.
Versatility for Every Season and Style
Raspberry bars aren’t just for summer. Thanks to frozen raspberries (yes, they work perfectly fine—and we’ll cover that shortly), you can whip these up year-round. Wanna mix things up? Try folding in some chopped strawberries for a berry medley, or go bold by adding citrus zest. These bars also travel well, making them perfect for potlucks and lunchboxes. If you’re into trending desserts, check out our bar recipes collection for more sweet inspiration.
Whether you’re a traditionalist or like your recipes with a twist, raspberry bars come out on top for convenience, flavor, and show-stopping presentation. They’re also a favorite of mine for turning TikTok trends into reliable home desserts—especially when you want something better than store-bought but still stress-free.
How to Make the Best Raspberry Bars at Home
Ingredients List
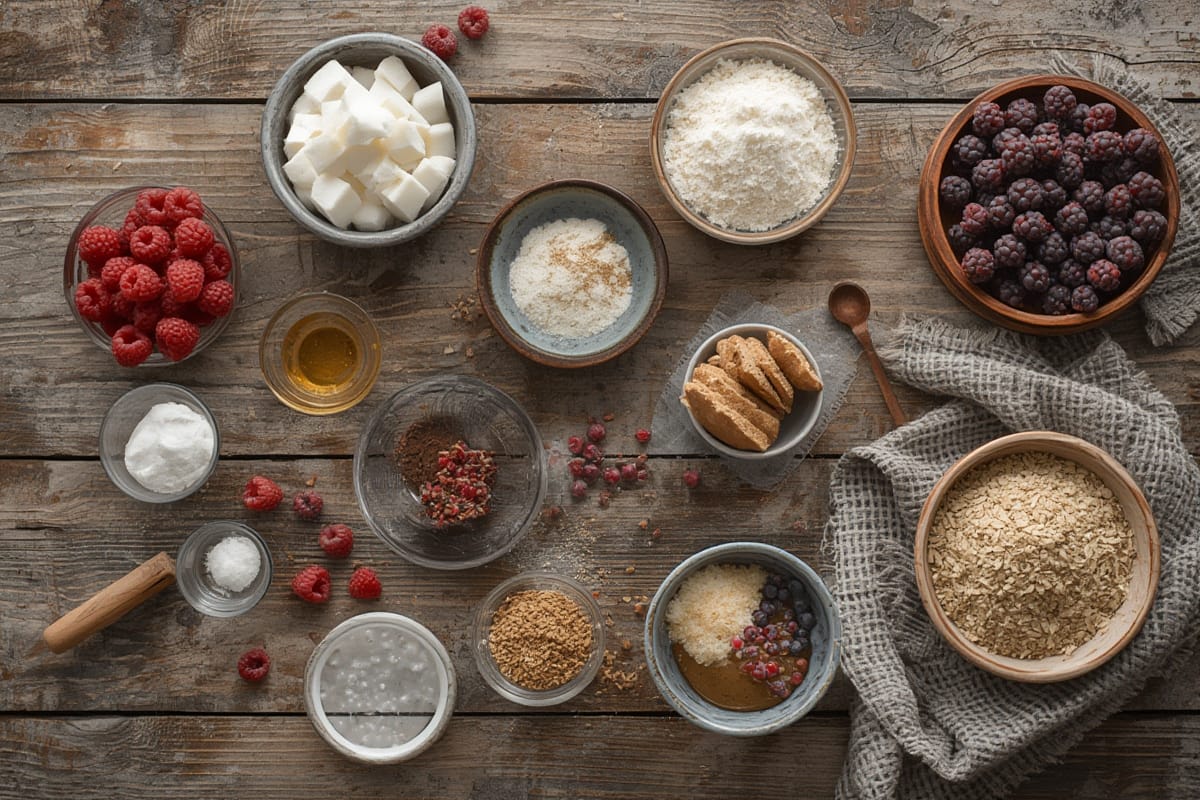
To make these delightful raspberry bars, you’ll need the following:
| Ingredient | Amount |
|---|---|
| All-purpose flour | 2 cups |
| Old-fashioned oats | 1 cup |
| Brown sugar | ¾ cup |
| Salt | ½ tsp |
| Coconut oil or unsalted butter (melted) | ¾ cup |
| Vanilla extract (alcohol-free) | 1 tsp |
| Fresh or frozen raspberries | 2 cups |
| Maple syrup or agave | 2 tbsp |
| Arrowroot powder (or cornstarch) | 2 tsp |
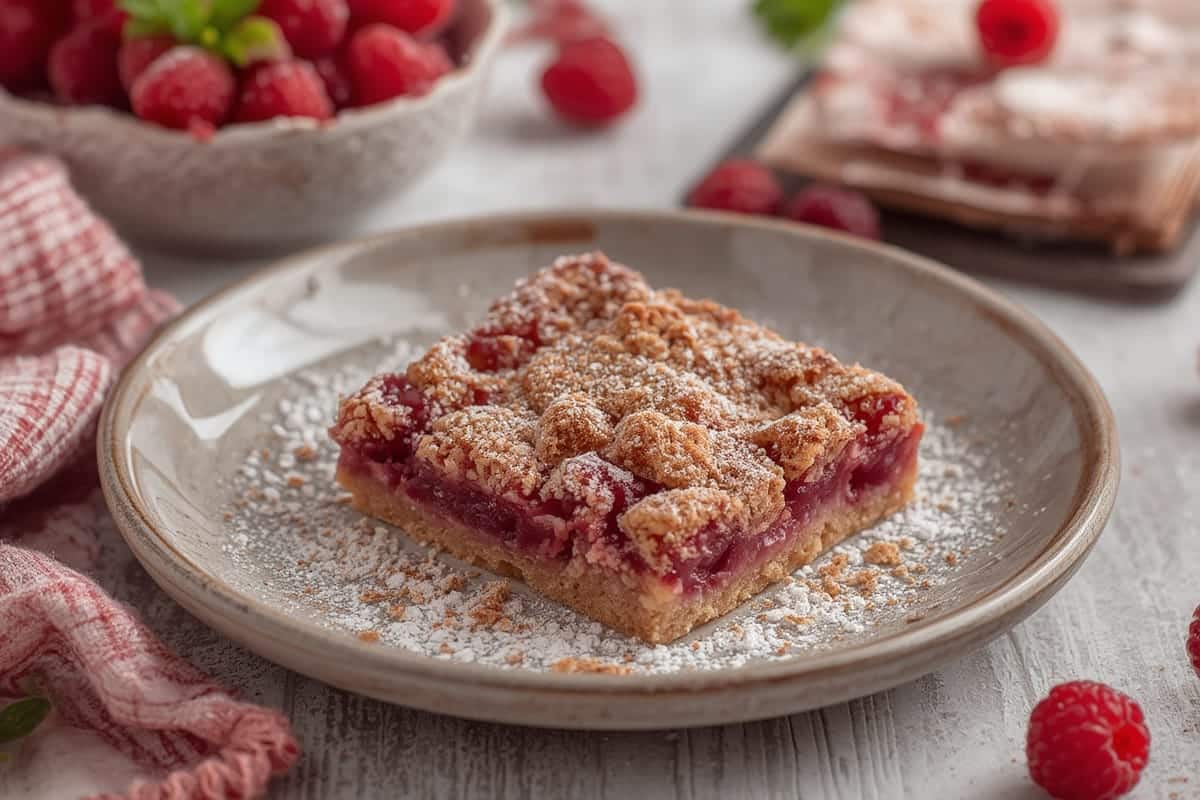
Optional Add-Ins: Lemon zest, shredded coconut, or chopped nuts. You could also dust the top with powdered sugar before serving for that bakery-style charm.
Timing Overview
This raspberry bar recipe comes together pretty quickly:
- Prep time: 15 minutes
- Bake time: 30–35 minutes
- Cooling time: 20–25 minutes
- Total Time: ~70 minutes
That’s about 20% faster than most baked fruit bars, thanks to the one-bowl crust and use of frozen berries. Perfect for busy weeknights or when you’re prepping for an event.
Step-by-Step Instructions
- Preheat your oven to 350°F (175°C). Line an 8×8-inch baking pan with parchment paper for easy removal.
- In a large bowl, mix flour, oats, brown sugar, and salt. Stir in melted coconut oil and vanilla until crumbly. Press ⅔ of this mixture into the bottom of your prepared pan.
- In another bowl, toss raspberries with syrup and arrowroot powder. Spread this glorious berry mix over the crust layer.
- Sprinkle the remaining oat mixture over the raspberries.
- Bake for 30–35 minutes, until the top is golden and the filling bubbles around the edges.
- Let cool completely before slicing. For best results, chill the pan in the fridge for 30 minutes—this helps the bars firm up for clean cuts.
Looking for another dessert with fruit-forward flair? You’ll love our strawberry shortcake treat, perfect for gatherings.
Small Tweaks, Big Raspberry Bar Upgrades
Flavor Twists That Work
There’s magic in a base recipe—but that doesn’t mean we can’t play around with it. Adding lemon zest brightens the filling beautifully. Prefer a nutty crunch? Swirl in crushed almonds or pistachios to the oat topping. Maple syrup can be swapped for honey or date syrup if desired.
A sprinkle of unsweetened shredded coconut adds a subtle tropical flavor that pairs beautifully with raspberries. You can even drizzle the cooled bars with a quick glaze made from almond milk and powdered sugar for bakery-worthy flair.
Healthier Raspberry Bars with Whole Ingredients
If you’re watching your sweet intake, opt for coconut sugar and use a fine oat flour blend for a gluten-friendly version. Frozen raspberries are totally acceptable—just don’t thaw first. This keeps the filling from becoming too wet in the oven.
Raspberries themselves are a natural source of fiber, vitamin C, and antioxidants. According to the USDA’s profile on berries, raspberries are one of the lowest sugar fruits—a nice bonus for those minding glycemic impact.
Serve them after a light lunch for a not-too-heavy dessert, or sneak one in with your afternoon tea. Want more berry-packed deliciousness? Dive into our full dessert recipes roundup for other sweet (but sensible) ideas.
How to Store, Serve & Keep Raspberry Bars Fresh
How to Store and Freeze Raspberry Bars
These bars will keep in an airtight container at room temperature for about two days, but I prefer storing them in the fridge so the filling stays thick. They also freeze well. Place them in a single layer and separate additional layers with wax paper.
Reheat in the oven for a warm treat, or just eat them chilled straight from the fridge.
Tools to Level Up Your Game
Want to make lifting and slicing easier? A quality square silicone pan will change your baking life. And if you love uniform bars, a straight-edge bench scraper makes for clean, cafe-style pieces every time. That said, don’t get hung up on fancy tools. A sturdy spatula and parchment paper go a long way.
Need a reliable mixing bowl or cooling rack set? Consider checking this Amazon mixing bowl set with grip base or this cooling rack combo set.
Make these ahead for guests, bake-and-freeze for future treats, or gift them in gift boxes sealed with love—they never disappoint.
FAQs About Raspberry Bars
Can frozen raspberries be used in bars?
Absolutely! Frozen raspberries work beautifully and even help keep the filling from getting too soupy. Use them straight from the freezer—no need to thaw.
How do you thicken raspberry filling?
Arrowroot powder or cornstarch can thicken the filling without clumping or leaving an aftertaste. Stir it with the berries before layering into the crust.
Can raspberry bars be frozen?
Yes, raspberry bars freeze very well for up to 3 months. Cut, wrap in parchment, and store in freezer-safe bags or containers.
Why are raspberry bars runny?
Too much liquid or not enough thickener usually causes this. Frozen berries that have been thawed before use also lead to excess moisture. Ensuring proper cooling also helps in clean slicing.
Final Thoughts: Classic Raspberry Bars You’ll Make Again
There’s something deeply satisfying about baking raspberry bars from scratch. You start with humble ingredients and end with a dessert that feels like a celebration. Whether it’s your first time or your fiftieth, raspberry bars always bring a sense of comfort and creativity to the table.
From their tart, ruby red filling to that buttery crumble top, these bars have earned their place in every home baker’s lineup. They’re perfect for weekday treats, guest-worthy dinners, or anytime you need a touch of sweetness with a hint of nostalgia.
So next time you’re scrolling for your next baking project, remember this: simple doesn’t have to mean boring. Raspberry bars prove that tradition and trend can taste pretty amazing on the same plate.
PrintRaspberry Bars
- Total Time: 70 minutes
- Yield: 9 bars 1x
Description
Soft, crumbly oat crust with a tart raspberry filling makes these raspberry bars an irresistible dessert that’s easy to make and perfect year-round.
Ingredients
2 cups all-purpose flour
1 cup old-fashioned oats
¾ cup brown sugar
½ tsp salt
¾ cup melted coconut oil or unsalted butter
1 tsp alcohol-free vanilla extract
2 cups fresh or frozen raspberries
2 tbsp maple syrup
2 tsp arrowroot powder (or cornstarch)
Instructions
Preheat oven to 350°F (175°C). Line an 8×8-inch pan with parchment.
In a bowl, mix flour, oats, brown sugar, and salt.
Stir in melted coconut oil and vanilla until crumbly.
Press ⅔ of the crust into the prepared pan.
Mix raspberries with syrup and arrowroot in a separate bowl.
Spread raspberry mixture over crust.
Sprinkle remaining crust on top.
Bake for 30–35 minutes until golden.
Let cool completely before cutting into bars.
Notes
Bars firm up best if chilled before slicing.
Frozen raspberries are ideal for juicier fillings.
Add lemon zest or chopped nuts for flavor variety.
- Prep Time: 15 minutes
- Cook Time: 35 minutes
- Category: Dessert
- Method: Baked
- Cuisine: American
Nutrition
- Calories: 210
- Fat: 11g
- Carbohydrates: 27g
- Fiber: 3g
- Protein: 3g
- Cholesterol: 0mg
Keywords: raspberry bars, oat crumb bars, fruit dessert, vegan raspberry bars