Disclosure: This post may contain affiliate links. As an Amazon Associate, we earn from qualifying purchases—at no extra cost to you.
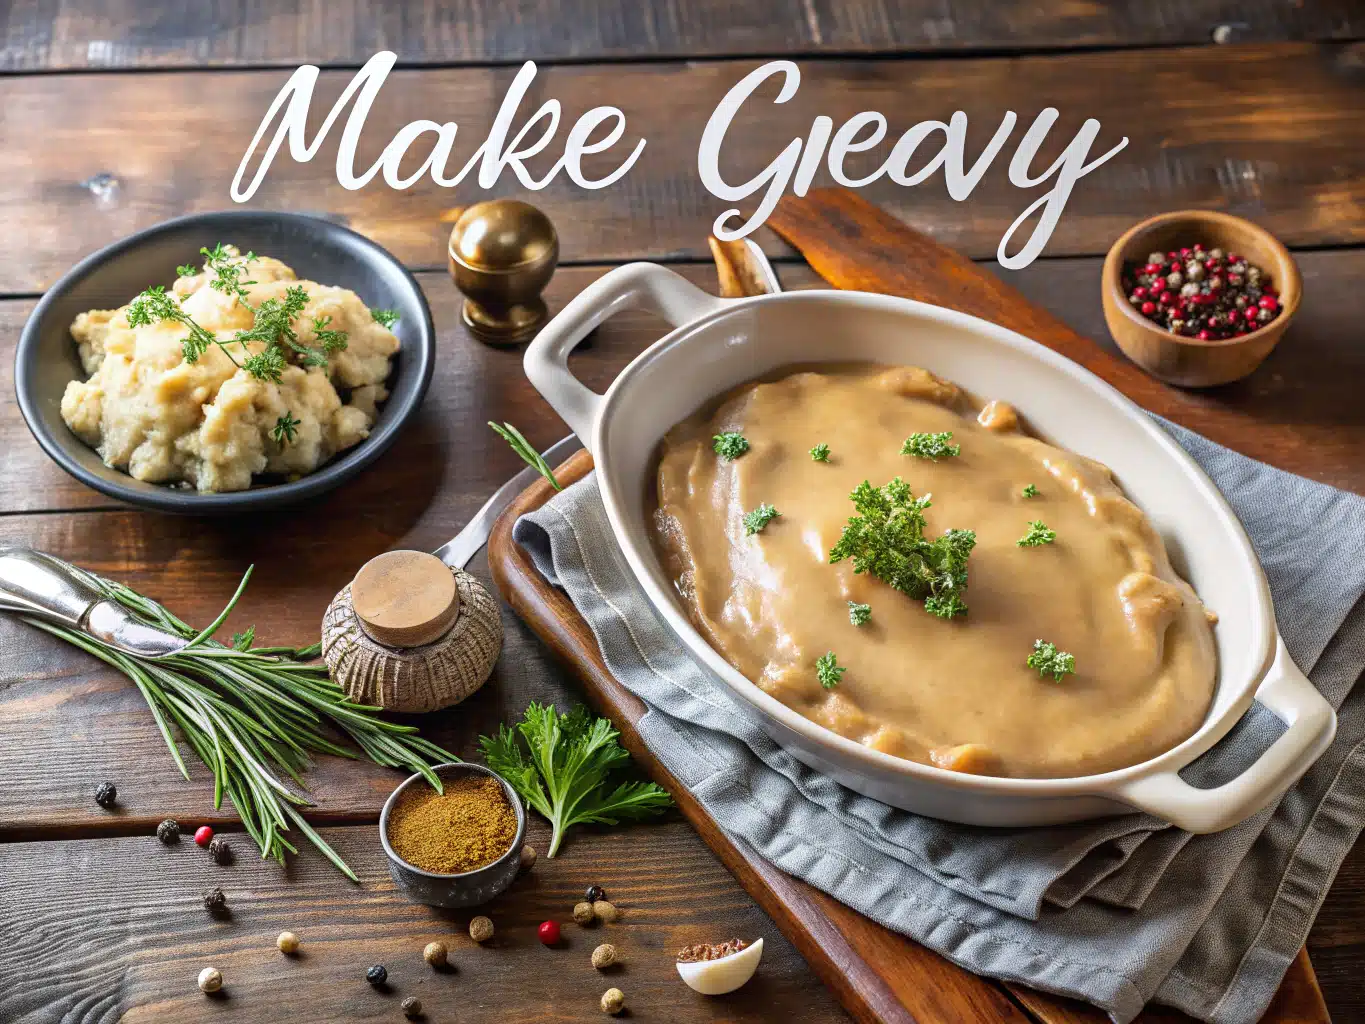
There’s something magical about the smell of homemade gravy bubbling on the stove. For me, the aroma alone instantly takes me back to the warmth of my grandmother’s kitchen in Georgia. Every Sunday after church, the whole family would gather around her well-loved oak table, waiting for what we lovingly called her “golden pan drippings.” But here’s the thing—gravy is one of those dishes that can turn chaotic if you leave it until the last minute. That’s when I discovered the beauty of make ahead gravy.
In this article, we’ll get into exactly how you can save time, energy, and stress by prepping your gravy days in advance. We’ll discuss ingredients, step-by-step methods, and smart storage hacks that make your gravy just as flavorful—if not better—than fresh. Plus, I’ll answer the top FAQs floating around the kitchen (yes, including “Can I make my gravy ahead of time?”). Whether you’re hosting a full Thanksgiving feast or just craving drop biscuits soaked in sausage gravy, this guide’s got you covered.
Why Make Ahead Gravy is a Game-Changer
Skip the Last-Minute Stress
One Thanksgiving a few years ago, I found myself wrestling a 15-lb turkey while trying to whisk gravy at the same time. Big mistake. The lumps were charmingly rustic, but I promised myself that year: never again. That’s when I started perfecting my make ahead gravy. Making it a day—or even a few weeks—in advance has changed the game. With turkey gravy already simmered and seasoned, I finally had time to enjoy the holiday too.
Cook it ahead, freeze it, and reheat it like a pro. There’s practically no reason to wait until your bird is done roasting to make that good, velvety stuff.
Better Flavor Over Time
Here’s a tasty secret: like chili or stew, gravy gets better after a rest. When you make ahead gravy and let it cool, the flavors deepen. Even the brown gravy I make with beef drippings and onion tastes richer after a day in the fridge. Gravy isn’t just a sauce—it’s the flavor bed for everything else on your plate.
Don’t underestimate how flexible this strategy is. You can create a versatile base gravy and then doctor it up with pan drippings on the big day. That’s the secret behind my hybrid Sunday sauce—part prep, part spontaneity.
Ingredients & Instructions for Killer Make Ahead Gravy
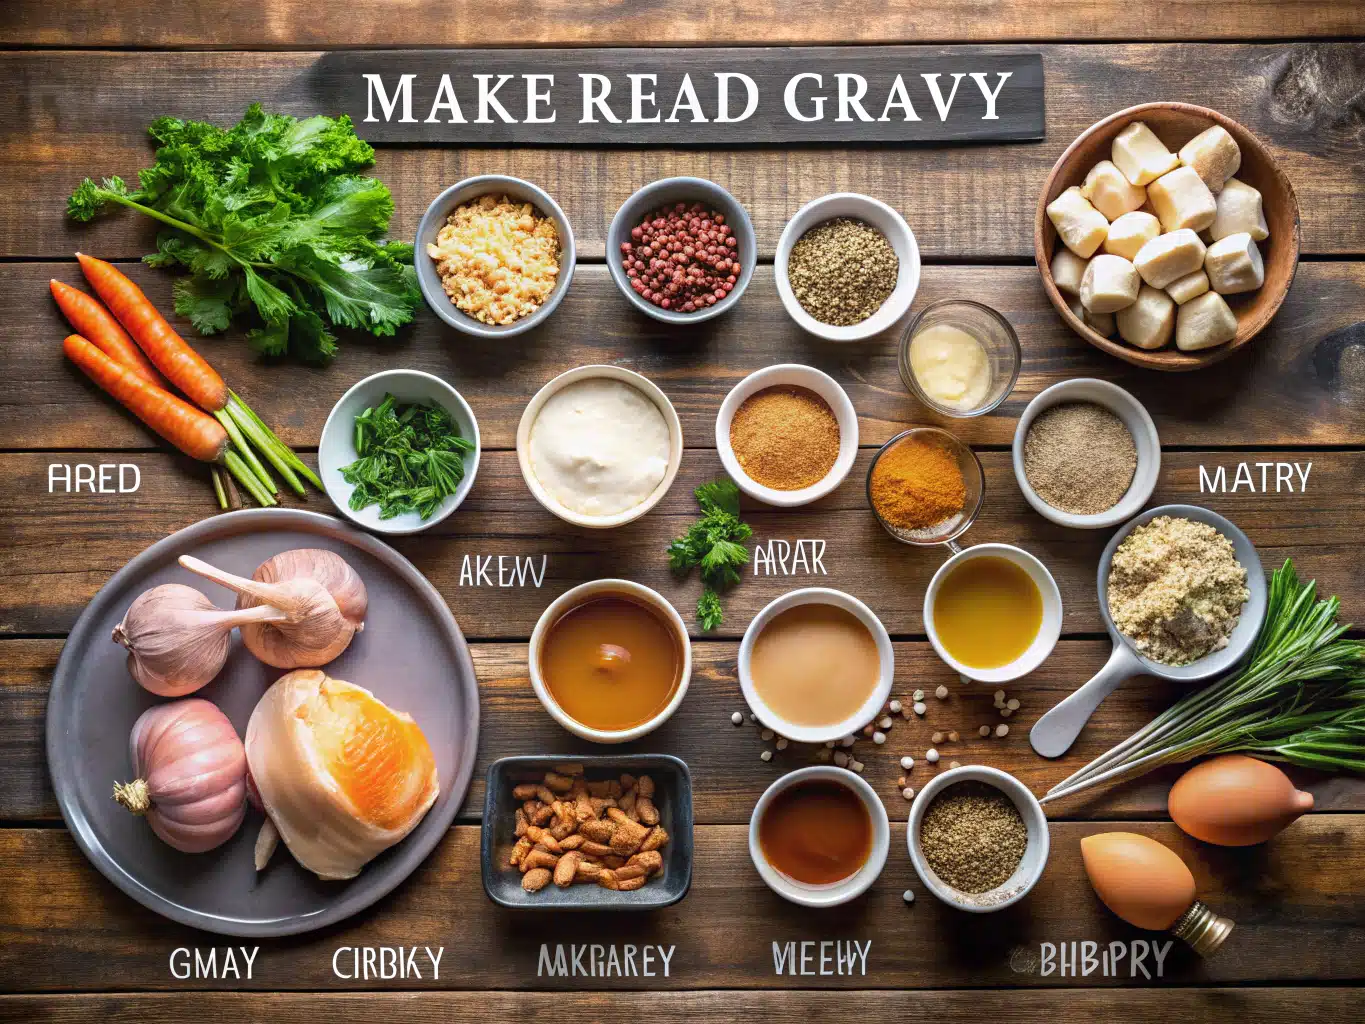
What Goes Into Make Ahead Gravy?
Flavor starts with strong basics. Below is a trusted list of ingredients for a classic make ahead gravy. Feel free to improvise with what you’ve got—just keep that roux-to-liquid ratio balanced.
Ingredient
Notes/Substitutes
Butter or fat drippings (½ cup)
For richer flavor use turkey fat or turkey bacon grease
All-purpose flour (½ cup)
Forms the roux base
Stock or broth (4 cups)
Use turkey, beef, or veggie depending on your dish
Onion, carrot & celery (½ cup each)
Mirepoix base adds deep flavor
Garlic, bay leaf, fresh thyme
For aromatic depth
Salt & Pepper to taste
Adjust after reducing
Make it adaptable. Want a meatless option? Swap in mushroom stock for a savory edge. Craving something heartier? Stir in sausage crumbles for a sausage gravy twist.
Timing & Step-by-Step Instructions
Prep time? About 15 minutes. Cook time is 25 minutes. All in, you’re looking at 40 delicious minutes—around 20% quicker than the average stovetop gravy.
Here’s how I do it:
In a saucepan or skillet, melt butter over medium heat. Add your mirepoix and sauté until golden.
Sprinkle in flour and whisk constantly to cook for 2–3 minutes until golden brown—do not skip this!
Slowly pour in your stock, whisking steadily to avoid clumps.
Add your bay leaf, garlic, and thyme. Let the mixture simmer for 15–20 minutes, stirring occasionally.
Remove aromatics, blend if desired for a silky finish, and season to taste.
Let it cool fully before storing. Label your container with the date—it’ll keep in the fridge up to 4 days or the freezer for 3 months. Find another way to expand your gravy repertoire with this gravy recipe for everyday dishes.
Reheat, Reinvent, and Serve
From Fridge to Feast Table
Make ahead gravy shines brightest when you’re reheating it to serve. Use low heat and stir frequently to avoid separation. Add extra broth or pan drippings if it thickens too much.
Want to enhance it last-minute? Whisk in fresh turkey drippings on Thanksgiving Day. This method helps bridge that gap between everyday prep and flavored feast. When you’re also following a dry-brine turkey method, the enhanced roast flavors combine perfectly with your pre-made base.
Another favorite? Pour leftover gravy over these delightful biscuits and gravy stacks for a comforting morning-after meal.
Smart Storage for Maximum Flavor
Store your make ahead gravy in airtight glass jars or BPA-free containers. Flat freezer bags also work well—freeze in thin layers for easy reheating.
According to the USDA Food Safety and Inspection Service, cooked gravies should be stored in the fridge below 40°F within two hours of cooling to prevent bacterial growth.
To reheat, move frozen gravy to the fridge 24 hours before serving, then warm gently on the stovetop. Always stir and sample before serving—this ensures the gravy’s taste and texture are at their luscious best.
Creative Gravy Variations You Can Prep Ahead
Add Global Flair
Once you’ve got a solid make ahead gravy, the possibilities start to spice up—literally. Craving heat? Stir in chipotle peppers and cumin for a smoky southwestern twist. You could even fold in soy and sesame for an umami-rich Asian variation, perfect for slathering over noodles or tofu.
I’ve even played around turning the base of my make ahead gravy into a trendy TikTok-style creamy pasta sauce. It’s quick, indulgent, and totally unexpected. Check out these easy Thanksgiving sides to complement your adventurous gravies.
Classic Pairings to Reimagine
Gravy doesn’t need to be exclusive to the holidays. Love chicken fried steak? This make-ahead base transitions flawlessly. Leftover pot roast? Pour some of that warmed-up sauce over and watch the magic happen.
If you’re still learning the basics, my guide on how to make gravy from scratch walks through every essential tip for beginners and old hands alike.
The 3-2-1 rule? That’s 3 tablespoons flour, 2 tablespoons fat, and 1 cup liquid per batch. A ratio worth memorizing for small or scaled-up gatherings.
FAQs
🤔 Can I make my gravy ahead of time? Absolutely. You can make gravy up to 4 days in advance and store it in the fridge. It also freezes exceptionally well for up to 3 months.
🥣 What is the 3 2 1 rule for gravy? The rule refers to the ideal ratio for smooth, lump-free results: 3 tablespoons flour, 2 tablespoons fat, and 1 cup of liquid (stock or broth).
🧊 How to save gravy for later? Cool completely, transfer to airtight containers, and either refrigerate or freeze. Label with the date to help track freshness.
⏳ How long will get ahead gravy last in the fridge? Up to 4 days if stored properly in an airtight container. Always check for smell and texture before reheating.
Conclusion
Make ahead gravy is the culinary safety net every home cook deserves. Whether you’re planning an extravagant holiday meal or a cozy Sunday dinner, having gravy done early frees up your time and mental space for more joy—and maybe even a second slice of pie. It’s flavorful, flexible, and forgiving.
Remember, gravy isn’t just a side—it’s a bridge of flavor connecting everything on your plate. So go ahead, make it ahead. Your future self will thank you, ladle in hand.