Disclosure: This post may contain affiliate links. As an Amazon Associate, we earn from qualifying purchases—at no extra cost to you.
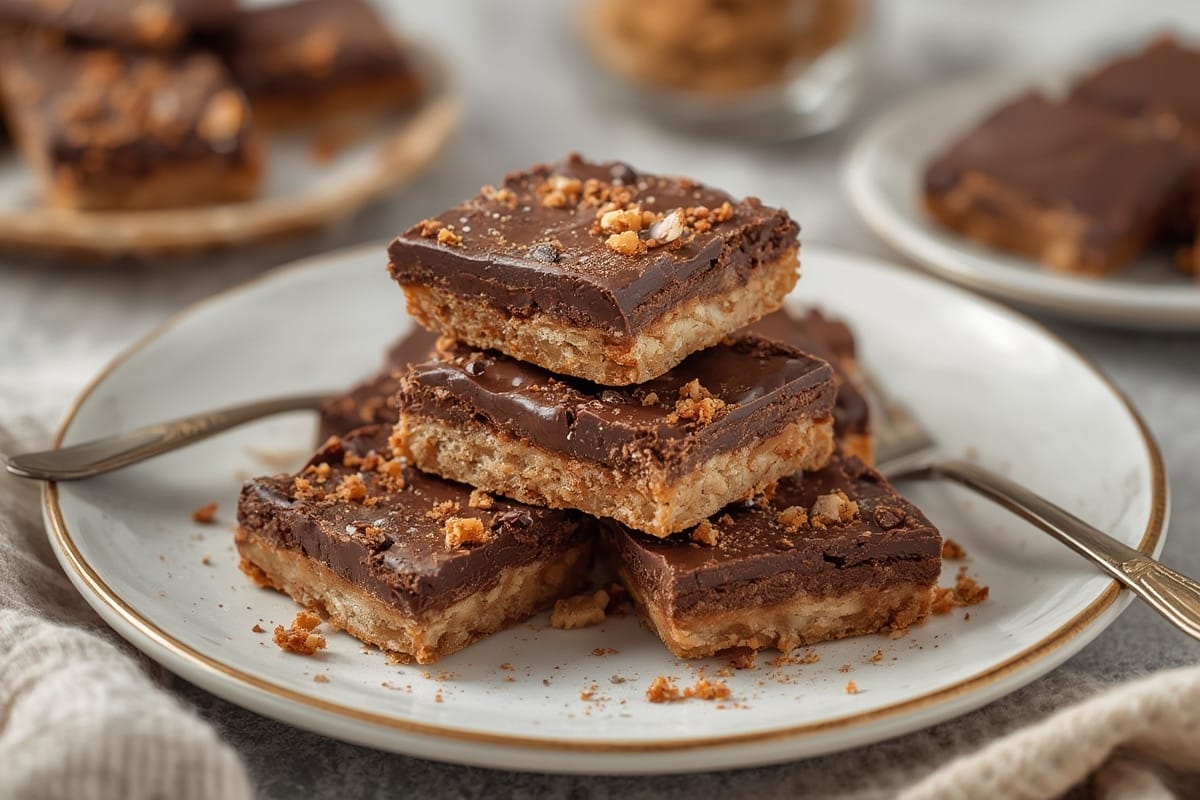
There’s something undeniably magical about unwrapping a chocolate bar. That glossy finish, the satisfying snap, the aroma that hints at sweetness and richness all at once—it’s a treat that hits every nostalgic note for me. Growing up in Georgia, I used to save my allowance just to grab a chocolate bar on the weekends at our local grocery. Decades later in my Austin kitchen, that same joy has found new life—in melting, molding, and mixing my own chocolate bars at home, where flavor meets creativity.
These days, I love testing out fun spins on popular treats (like tossin’ in bits of freeze-dried strawberries or crushed pistachios). Homemade chocolate bars are more than a snack—they’re a canvas. In this guide, I’ll share just how easy it is to make your own, along with what ingredients to grab, tips to lock in that irresistible shine, and ideas for flavor twists that’ll leave store-bought bars in the dust. Ready to sweeten your day?
Bringing Chocolate Bars to Life: Memories and Flavor Experiments
Why Chocolate Bars Steal the Spotlight
No matter the age or craving, chocolate bars are timeless. Whether it’s a childhood memory, a comfort snack, or a moment of indulgence, they’ve got a hold on us. What makes them better at home? First, control—no preservatives, no mystery ingredients. Second, the freedom to personalize. Want chewy maple granola bits in dark chocolate? Go for it. Craving turmeric and date-infused bars? You’re the boss.
Making chocolate bars brings back that feeling of Sunday dinners in Georgia—everyone brings their story to the table. My story today is cocoa-scented, and laced with almond butter and sea salt. From classic milk chocolate blends to eccentric white chocolate with candied citrus peel, there’s room to play.
A Quick Nod to the Delicious Science Behind the Shine
Now, let’s talk gloss—because that finish matters. You ever notice how the best chocolate bars glisten under the light? That’s no accident—it’s tempering, a temperature-controlled process that aligns cocoa butter crystals for that glossy, smooth result with a firm snap. We’ll cover that a little later.
But don’t let the science intimidate you. With basic skills, the right tools (like this top-rated silicone chocolate mold), and good chocolate, you’ll make glossy homemade bars better than any gas station grab.
And if you’re digging dessert inspiration, check out these holiday dessert recipes from viral trends or explore healthy cake recipes packed with protein—perfect sweet pairings with your homemade bars!
The Ingredients & Method Behind Perfect Homemade Chocolate Bars
Ingredients List to Make Chocolate Bars Shine
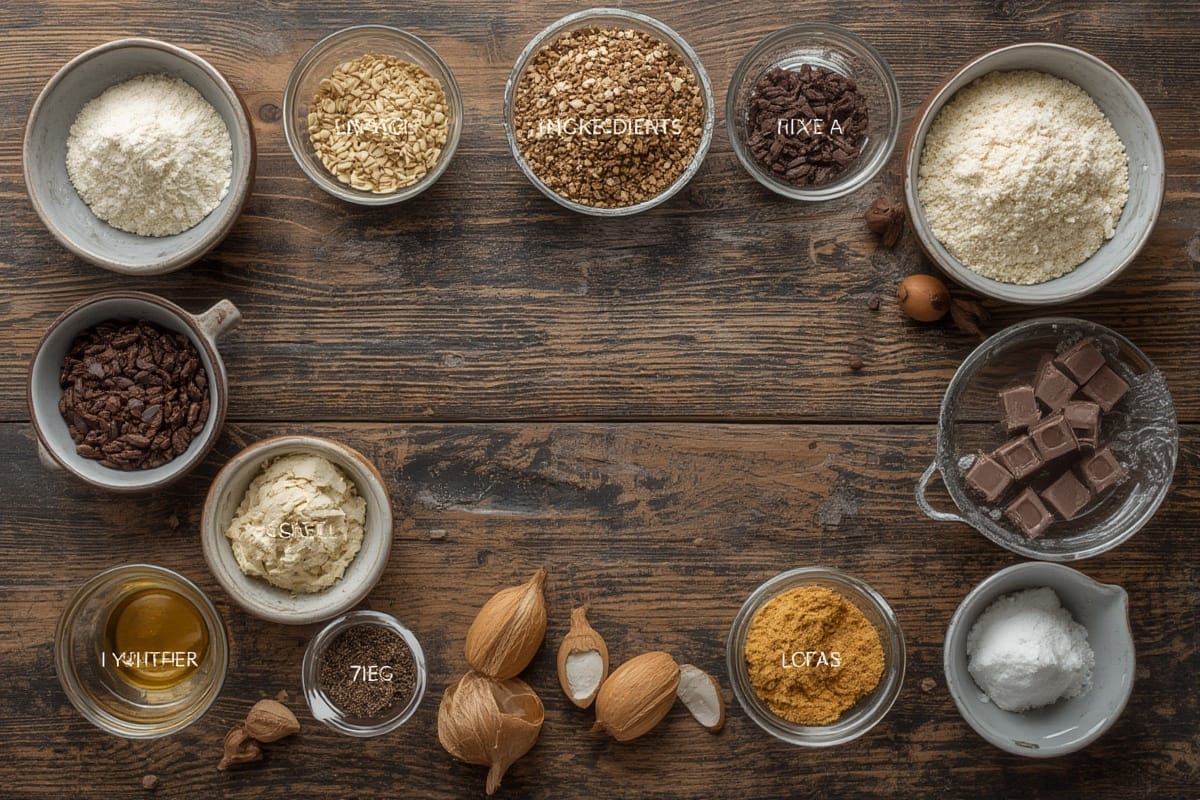
Before we dive into the steps, let’s build your base. Here’s what you’ll need for about six 3-ounce chocolate bars:
- 2 cups high-quality couverture chocolate (chips, wafers, or chopped blocks)
- 1 tablespoon cocoa butter (optional, boosts gloss)
- ⅛ teaspoon sea salt
- Toppings of your choice: chopped almonds, dried strawberries, toasted quinoa, coconut flakes
- Sweetener (optional): 2 tablespoons agave syrup or honey (only for unsweetened bases)
- ½ teaspoon vanilla (alcohol-free extract or paste)
💡SUBSTITUTION NOTE: Want it dairy-free? Use vegan chocolate wafers. No cocoa butter? Leave it out or swap with refined coconut oil (though this may slightly affect texture). Craving it spicy? Add a pinch of cayenne.
Timing: When to Stir, Chill, and Snap
Homemade chocolate bars are deceivingly quick, especially once you understand how easy tempering can be. Here’s a quick breakdown of what to expect:
| Step | Time |
|---|---|
| Heating & Tempering Chocolate | 15 minutes |
| Molding and Topping | 10 minutes |
| Chilling and Set Time | 30–45 minutes |
Total time: 60–70 minutes, depending on thickness and cooling environment.
Step-by-Step Instructions for Foolproof Chocolate Bars
- Chop the chocolate into even pieces if not using chips or melts. For best shine use high-quality couverture chocolate like this one.
- Heat ¾ of the chocolate using a double boiler or microwave (30 seconds at a time, stirring in between) until melted and glossy.
- Add the final ¼ chocolate into the bowl and stir continuously to bring down the temperature. This is called seeding and is part of the tempering magic.
- Optional: Stir in cocoa butter and vanilla. Add sweetener only if using unsweetened chocolate.
- Pour into molds like this professional bar mold set and tap gently to remove bubbles.
- Sprinkle toppings evenly. Press lightly if needed.
- Chill in the fridge for 30–45 minutes or until fully set.
- Once firm, remove from molds and store in an airtight container.
For more quick treats, don’t miss our collection of cake recipes with trending techniques—perfect if you’re serving these bars at a gathering!
Variations & Tips: Take Your Chocolate Bars to the Next Level
Flavor Boosters You Can Experiment With
If you’ve got the techniques down, flavor becomes your playground. Here are some custom ideas:
- Nutty Crunch: Mix in toasted pecans or whole roasted almonds for texture.
- Tropical Twist: Add dried mango, shredded coconut, and a hint of lime zest.
- Superfood Bar: Stir in puffed quinoa, goji berries, and a sprinkle of Himalayan salt.
- Spiced Mocha: Add instant espresso powder and a pinch of ground cinnamon.
Let the bar match your mood or the season. In fact, recent research from Harvard’s School of Public Health shows that dark chocolate (in moderation) may support heart health—making even an indulgent bar a bit virtuous.
Shelf Life and Storage: Keep the Goodness Fresh
Homemade chocolate bars can last surprisingly well if stored correctly:
- Room temp (cool area, in an airtight box): Up to 2 weeks
- Fridge: 3 weeks maximum (may dull the finish)
- Freezer: 2 months, well-wrapped in parchment and sealed tight
Avoid storing in humid kitchens or bright areas. To make life easier, grab this airtight BPA-free storage container to preserve flavor and freshness.
Let’s Answer Your Chocolate Questions (FAQs)
What makes chocolate bars glossy?
It’s all about tempering, a process of heating and cooling chocolate to stabilize cocoa butter. This creates a shiny surface and that classic snapping sound when you break a bar.
Can homemade chocolate bars be frozen?
Yes, they freeze beautifully. Just wrap them tightly in parchment and seal in a container to avoid condensation and freezer burn.
How long do chocolate bars last?
Homemade bars can last 2 weeks at room temperature, 3 weeks in the fridge, and about 2 months in the freezer—if you don’t eat them all first.
What chocolate is best for bars?
Couverture chocolate is ideal—high-quality with higher cocoa butter content. It melts smoothly, tempers easily, and gives that pro-level gloss and snap.
Final Bites: Homemade, Glossy & Decadent Chocolate Bars for Everyone
Making your own chocolate bars might sound like a pro-level kitchen feat, but as you’ve seen, it’s totally beginner-friendly—and way more fun than grabbing a supermarket brand off the shelf. Whether you stick with the basics or throw in adventurous flavors like cardamom, freeze-dried fruit, or rose petals, what you’re really making is a story—a memory shared, a flavor unlocked.
Now that you’ve got the method, why not make a batch and serve them with your favorite quick viral eats? Whether it’s a gift, a snack, or your next creative outlet, chocolate bars fit every bill.
So go ahead—melt, mold, and create your own chocolate bliss.
PrintHomemade Glossy Chocolate Bars
- Total Time: 60 minutes
- Yield: 6 chocolate bars 1x
Description
Simple, glossy homemade chocolate bars you can customize with your favorite flavors and toppings. Perfect for gifting or snacking.
Ingredients
2 cups high-quality couverture chocolate chips or chopped chocolate
1 tablespoon cocoa butter (optional)
1/8 teaspoon sea salt
1/2 teaspoon alcohol-free vanilla extract or vanilla paste
Toppings: toasted nuts, freeze-dried berries, coconut flakes, etc.
Optional: 2 tablespoons agave or honey (for unsweetened chocolate only)
Instructions
Chop or measure your chocolate and set aside 1/4 of it.
Melt 3/4 of the chocolate in a microwave or double boiler until smooth.
Remove from heat and add the remaining chocolate, stirring to cool and temper.
Add cocoa butter, vanilla, and any sweeteners if using.
Pour into chocolate bar molds and smooth the tops.
Sprinkle on toppings and gently press to stick.
Chill in the fridge for 30–45 minutes until hardened.
Remove from molds and store airtight.
Notes
Tempering is essential for glossy finish—don’t skip the seeding method.
Store in a cool, dry place for best texture and flavor.
Experiment with toppings to create unique profiles for gifting!
- Prep Time: 15 minutes
- Cook Time: 0 minutes
- Category: Dessert
- Method: No-bake
- Cuisine: American
Nutrition
- Calories: 210
- Fat: 16g
- Carbohydrates: 18g
- Fiber: 3g
- Protein: 2g
- Cholesterol: 0mg
Keywords: homemade chocolate bars, healthy dessert, easy no bake chocolate, glossy chocolate recipe