Disclosure: This post may contain affiliate links. As an Amazon Associate, we earn from qualifying purchases—at no extra cost to you.
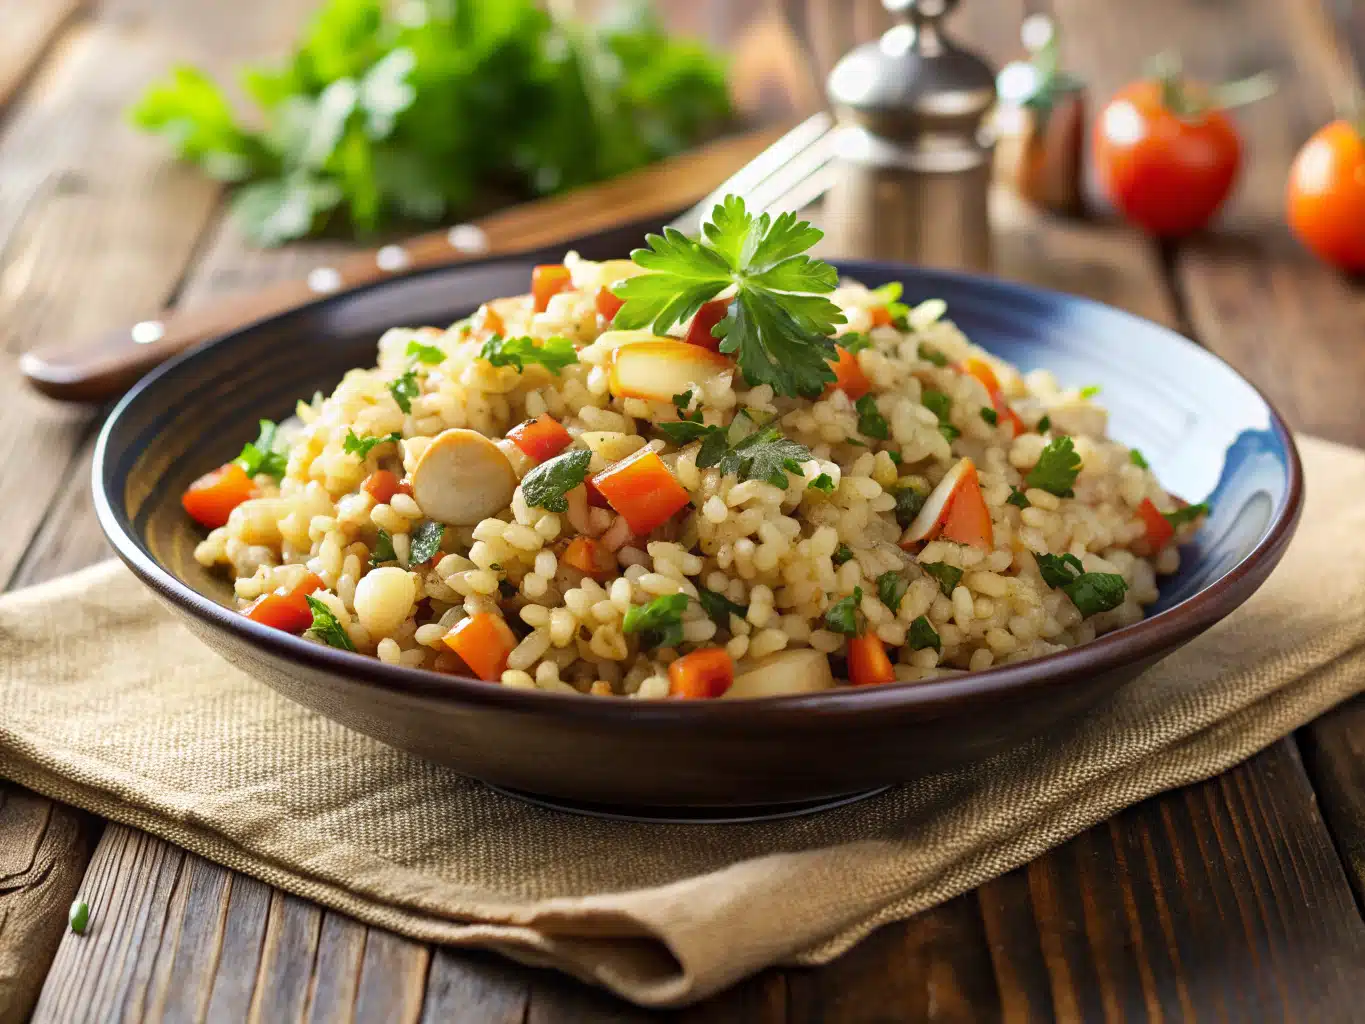
There’s something magical about brown rice pilaf that takes me right back to my childhood kitchen. Growing up in Georgia, Sunday dinners were a sacred ritual. The table was always full—of food, yes—but more than that, it was filled with stories. One dish in particular always stood out: a warm, buttery pilaf with nutty undertones and little surprises like caramelized onions or hidden herbs tucked into every bite. I didn’t know it then, but that simple side dish taught me more about flavor layering than any culinary school ever could.
Over the years, I’ve made countless versions of pilaf. And while traditional white rice pilaf holds a special place in my heart, I’ve come to lean on brown rice for its hearty texture and nutritional edge. With a bit more chew and a richer, nuttier flavor, brown rice pilaf offers comfort and wholesomeness with every forkful. Whether you’re serving roasted vegetables or pan-seared protein, this versatile dish fits effortlessly into any weeknight dinner—but it’s humble enough to let the main act shine.
This article covers everything you need: my signature take on brown rice pilaf, essential ingredients, cooking technique, variations, FAQs, and the best aromatic blends to make your kitchen smell like a five-star restaurant. So let’s dive in.
Flavorful Inspiration: Why Brown Rice Pilaf Deserves a Spot on Your Table
A Southern Spin on a Classic
Growing up around soulful Southern food shaped my palate in profound ways. Our brown rice pilaf was never just rice—it was an ensemble. Think fragrant garlic, slow-sweated onions, maybe a stray bay leaf or two tossed in for character. Fast-forward to today, and that same attitude inspires my own upgraded version of this familiar side.
Brown rice has a texture and nuttiness that white rice can’t beat. It pairs beautifully with both mains and veggies, and even better, it stands up to bold flavors like cumin, smoked paprika, or even kimchi: yes, I once made a Korean-style migas with leftover brown rice pilaf because—why not?
Even better, brown rice retains its bran layer, which means you not only get more fiber and nutrients, but you’re also opting for a more whole-foods-based dish. That’s a win-win in my book. For nights when I’m pairing it with something fresh like roasted broccoli or pulling together a salmon bowl, this pilaf is my go-to.
Getting the Texture Just Right
Brown rice gets a bad rap for being chewy or even mushy. Trust me, no one wants a sticky mess when you’re expecting fluffy grains. The trick? Rinsing and toasting. By thoroughly rinsing, you remove excess starch, which helps the grains separate beautifully. Toasting the rice in a bit of good olive oil or butter before adding liquid releases a deep, almost nutty aroma that makes the kitchen smell like something wonderful is unfolding.
One tool that transformed my rice game was using a tight-fitting, oven-safe saucepan like the All-Clad 3-Quart Saucepan. It keeps the heat consistent and finishes perfectly in the oven—no burnt bottoms or soggy centers.
Pilaf is about patience and layering flavors. From sautéing your aromatics to infusing the grains with seasoned broth, each step builds toward the final bite. And once you master the basics, the variations are endless—from lemony spring versions to hearty fall bowls with grilled chicken.
Brown Rice Pilaf Recipe Guide: My Tried-and-True Method
Ingredients List
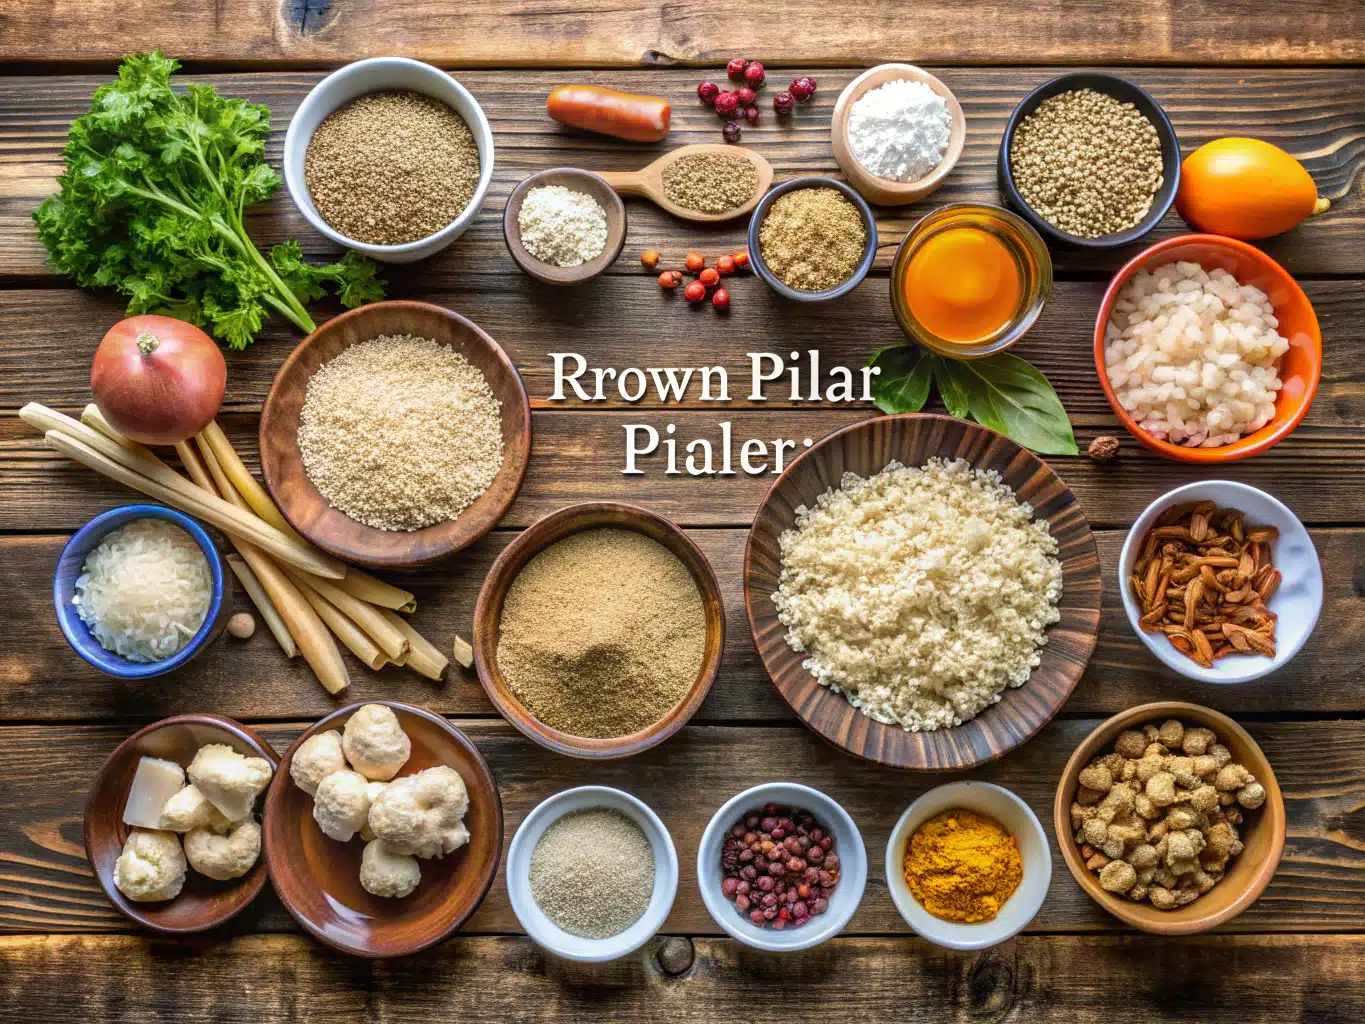
Here’s everything you need to build the perfect brown rice pilaf from scratch:
- 1 cup uncooked long-grain brown rice (rinsed thoroughly)
- 2 cups low-sodium vegetable or chicken broth
- 2 tablespoons unsalted butter or olive oil
- 1 small yellow onion, finely chopped
- 2 cloves garlic, minced
- 1/2 teaspoon ground cumin
- 1/4 teaspoon turmeric (optional but golden and flavorful)
- 1 bay leaf
- Salt and black pepper to taste
- 1/4 cup slivered almonds or toasted pine nuts
- Optional: 1/4 cup chopped parsley or dill for garnish
- Optional add-ins: finely diced carrots, peas, cranberries
Looking to switch it up? Replace the broth with mushroom stock for an earthy, umami-rich base. You could also use cauliflower rice if you want a low-carb version.
Timing: Prep & Cook Schedule
Here’s how the timeline breaks down so you can plan ahead.
| Stage | Time |
|---|---|
| Preparation (rinsing, chopping, sautéing) | 15 minutes |
| Simmering | 40 minutes |
| Resting (covered) | 10 minutes |
That puts your total time at around 65 minutes—totally worth it for a foundational dish.
Step-by-Step Instructions
- Heat your butter or olive oil over medium in a heavy-bottomed pot.
- Toss in onions and sauté for 5–7 minutes until translucent. Add your garlic, cumin, turmeric, and bay leaf next. Stir for 60 seconds to release the aromatics.
- Stir in the rinsed rice, coating every grain in the fragrant oil. Toast for 3–5 minutes until the rice turns slightly golden and smells nutty.
- Pour in the broth and add a generous pinch of salt. Give it one last stir.
- Bring to a boil, cover, and reduce heat to low. Simmer for 40 minutes—no peeking!
- Remove from heat and let it sit, covered, for 10 minutes.
- Fluff gently with a fork and fold in chopped herbs and nuts if using.
If you love oven-finishing, you can transfer your covered dish to a 350°F oven for the simmer segment using an oven-safe Dutch oven—you’ll get even heat distribution and ideal fluffiness.
Taking It Further: Perfect Pairings & Global Variations
Best Dishes to Serve with Brown Rice Pilaf
Brown rice pilaf is no wallflower. It’s a background player that brings grounding balance to punchy mains. I love pairing this with lemon asparagus for a springtime plate or under-spooning it beneath a Mediterranean-style chicken dish with tzatziki and cucumber salad for refreshing contrast.
Want to keep it vegan? Use it as a base for a hearty grain bowl with tofu, roasted sweet potatoes, and tahini drizzle. Even better, make a burrito bowl with cilantro rice and combine it with this pilaf for layered textures and flavors.
Regional Takes and Add-ins
Different cuisines bring their own twist: Middle Eastern pilaf often adds cinnamon or allspice with toasted nuts. In Indian cooking, a pilaf (or “pulao”) might include cardamom and cloves. Don’t be afraid to riff.
You can also incorporate informative nutrition insights from ChooseMyPlate.gov to understand why whole grains like brown rice are encouraged as part of a balanced diet.
For fall-inspired flavor, stir in diced roasted butternut squash and sage. Or add sun-dried tomatoes and basil for a Mediterranean spin. You can even buy quality sun-dried tomatoes straight from this Amazon pantry pack to keep the pantry stocked for those bold add-ins.
Finesse Your Pilaf Game: From Texture to Tools
Must-Have Cooking Tools for Great Results
Cooking good brown rice pilaf is part tech, part instinct, and all love. But it helps to have good gear. Use a solid, heavy-bottomed pan like this stainless-steel saucepan with even heating. A fine mesh strainer is essential for thoroughly rinsing your rice, and a sturdy wooden spoon makes mixing gentler, preserving the grain integrity.
And don’t forget a rice keeper to store your brown rice for freshness.
Secrets to Fluffy Brown Rice Pilaf Every Time
Most people stir too soon or lift the lid often. Don’t! Steam needs to build and release gradually. And after cooking, that 10-minute resting period does more than cool—it’s essential for structure and fluffiness.
Try steaming your pilaf in the oven with a foil-lined lid. It seals in moisture beautifully, especially when you’re cooking larger batches. Also, consider adding a touch of acid at the end (lemon juice or white wine vinegar) to brighten flavors and create balance.
FAQs
How to keep pilaf fluffy?
Fluffiness starts with rinsing the rice, toasting it well, using the proper water ratio (2:1 for brown rice), and letting it steam off heat for 10 minutes before fluffing gently with a fork.
Should you rinse brown rice?
Yes. This removes excess starch and dirt, preventing gummy textures and allowing each grain to remain separate while cooking.
Can you bake pilaf in the oven?
Absolutely. After sautéing on the stovetop, cover tightly and bake at 350°F for 40 minutes. The results? Fluffy, evenly cooked pilaf with minimal effort.
What aromatics/spices work best?
Bay leaves, garlic, cumin, coriander, turmeric, and cinnamon can all work wonders. Choose based on your mood—earthy and mild or bold and spicy.
Conclusion
Brown rice pilaf isn’t just a side dish—it’s a celebration of flavor, texture, and heritage. It’s about bringing people together over something that feels humble but tastes extraordinary. Whether you’re serving it with light grilled proteins or layering it into your favorite bowl creations, this recipe has you covered.
From my Southern kitchen to yours, here’s hoping your next batch of pilaf carries the same warmth and connection that I’ve found in every spoonful. Keep cooking, keep experimenting, and most of all—make it yours.
Print
Brown Rice Pilaf: A Delicious Take on a Comfort Classic
- Total Time: 65 minutes
- Yield: 4 servings 1x
- Diet: Vegetarian
Description
A warm, buttery brown rice pilaf with nutty undertones, caramelized onions, and herbs—perfectly fluffy and packed with flavor. A wholesome Southern-inspired classic.
Ingredients
1 cup uncooked long-grain brown rice (rinsed thoroughly)
2 cups low-sodium vegetable or chicken broth
2 tablespoons unsalted butter or olive oil
1 small yellow onion, finely chopped
2 cloves garlic, minced
1/2 teaspoon ground cumin
1/4 teaspoon turmeric (optional but golden and flavorful)
1 bay leaf
Salt and black pepper to taste
1/4 cup slivered almonds or toasted pine nuts
Optional: 1/4 cup chopped parsley or dill for garnish
Optional add-ins: finely diced carrots, peas, cranberries
Instructions
1. Heat your butter or olive oil over medium in a heavy-bottomed pot.
2. Toss in onions and sauté for 5–7 minutes until translucent. Add your garlic, cumin, turmeric, and bay leaf. Stir for 60 seconds to release the aromatics.
3. Stir in the rinsed rice, coating every grain in the fragrant oil. Toast for 3–5 minutes until slightly golden and nutty.
4. Pour in the broth and a generous pinch of salt. Stir.
5. Bring to a boil, cover, and reduce heat to low. Simmer for 40 minutes—no peeking!
6. Remove from heat and let it sit, covered, for 10 minutes.
7. Fluff gently with a fork and fold in herbs and nuts if using.
8. Optional: Finish simmering in a 350°F oven for extra fluffiness using an oven-safe dish.
Notes
For variation, use mushroom stock for umami flavor.
Add-ins like roasted butternut squash or sun-dried tomatoes work great.
Rinse rice thoroughly and avoid lifting the lid during cooking for best texture.
Use oven-baking method for even heat distribution in larger batches.
- Prep Time: 15 minutes
- Cook Time: 40 minutes
- Category: Side Dish
- Method: Stovetop, Oven (optional)
- Cuisine: Southern, Fusion
Nutrition
- Serving Size: 1 cup
- Calories: 220
- Sugar: 2g
- Sodium: 150mg
- Fat: 8g
- Saturated Fat: 2g
- Unsaturated Fat: 5g
- Trans Fat: 0g
- Carbohydrates: 34g
- Fiber: 3g
- Protein: 4g
- Cholesterol: 5mg
Keywords: brown rice, pilaf, healthy side, southern recipe, whole grain