Disclosure: This post may contain affiliate links. As an Amazon Associate, we earn from qualifying purchases—at no extra cost to you.
Crispy chickpeas have taken my kitchen—and my snacking habits—by storm. If you’d told me ten years ago I’d be craving roasted legumes instead of potato chips, I’d have laughed while dusting flour off my apron. But here we are. There’s something undeniably magical about how these little guys transform in the oven—golden, crunchy, and endlessly customizable. Whether I’m sprinkling them over salads or devouring them straight from the pan, crispy chickpeas are now a staple in my weekly meal rotation. In this article, we’ll dive into how to make them perfectly crispy, what ingredients give the best results, creative ways to use them, and answer your top FAQs.
From Soft to Snap: My Crispy Chickpea Discovery
How I Fell in Love with Crispy Chickpeas
It all started while I was experimenting for a potluck with my gardening club last spring. I wanted something high in protein, easy to make, and just a little different. I remembered a teenage food blogger raving about crispy chickpeas adding the “perfect texture” to her rainbow salad—so I gave them a shot. I drained, dried, seasoned, and roasted a can of chickpeas until golden. One taste and I was hooked. The crunchy outside and fluffy inside had that addictive texture you usually only get from fried snacks—but these used barely a splash of oil.
Since then, I’ve made batches with everything from Cajun spices to za’atar blends. I’ve even crumbled them on a creamy hummus platter for guests who demolished it in minutes. They’re that good.
What Makes Chickpeas So Darn Crispy?
When you roast chickpeas right, you’re working with three key elements: moisture reduction, surface disruption, and oven-hot dry heat. Removing moisture (hello, paper towels) gives you the best shot at a true crisp. A light dusting of starch—like cornstarch or arrowroot—helps create a craggy, crunchy coating. And finally, tossing them into a blazing hot oven seals the deal, kind of like igniting your taste buds with anticipation.
I’ve found that flavor soaks in best if you season them after roasting. While I love playing with global spice blends, even just salt, black pepper, garlic powder, and a couple drops of avocado oil can elevate basic chickpeas into a truly satisfying snack. Need crunch in your lunch? Sprinkle them over veggie bowls for a texture punch that beats store-bought croutons hands down.
The Crispy Chickpea Blueprint: Ingredients, Time, & Steps
Flavor-Packed Ingredients for the Best Crispy Chickpeas
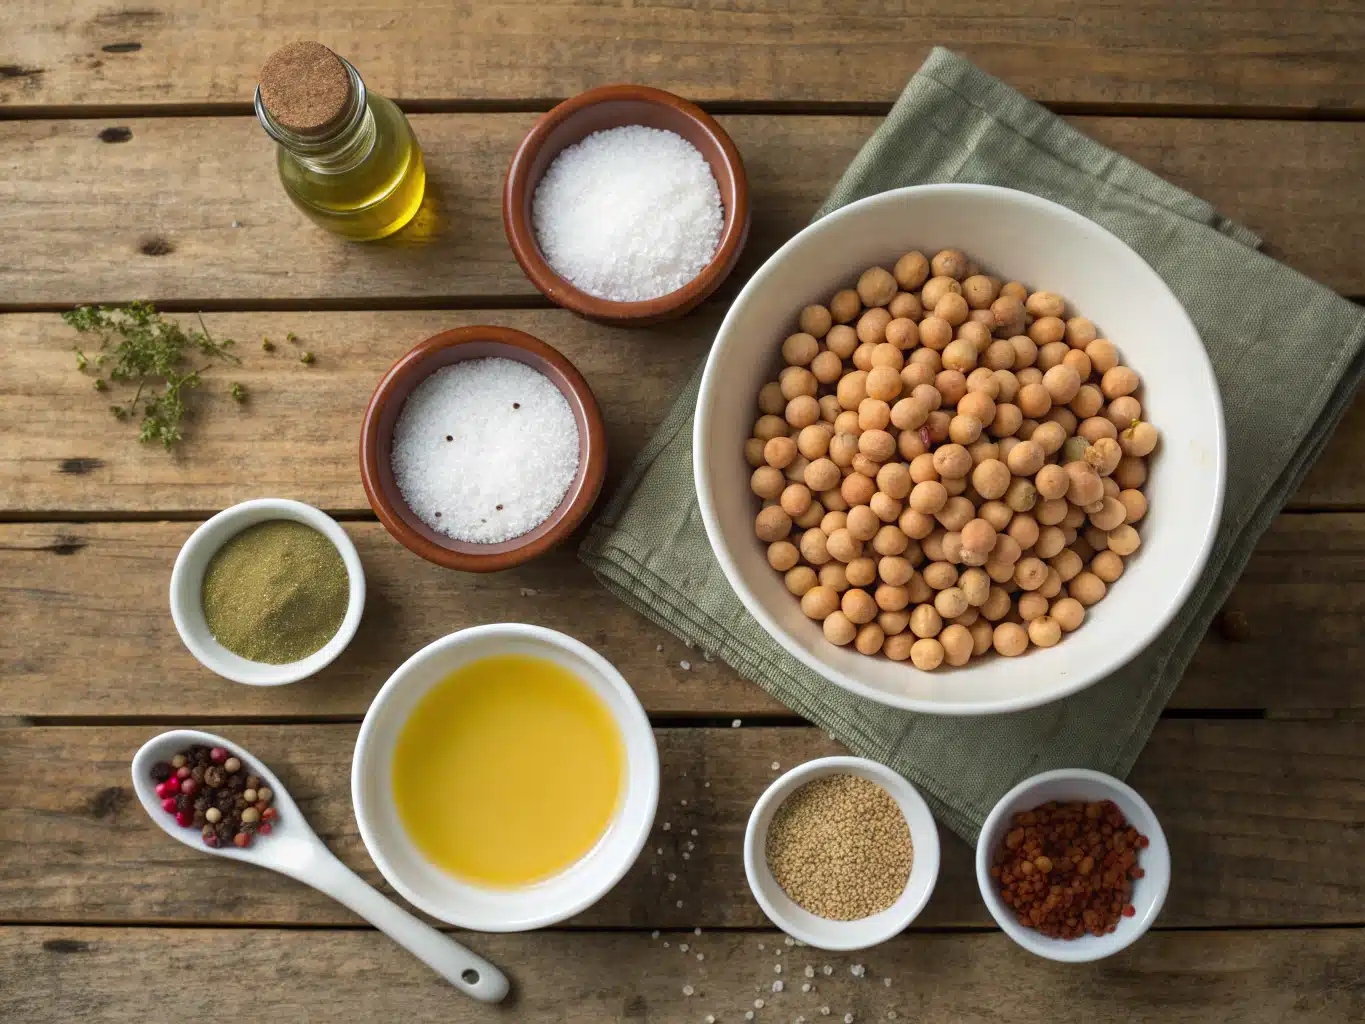
To make your own batch at home, here’s what you’ll need:
1 can (15 oz) chickpeas (also labeled as garbanzo beans), drained and rinsed
1 tablespoon olive oil or avocado oil (both have high smoke points)
1 teaspoon cornstarch (optional, but recommended for extra crispiness)
½ teaspoon fine sea salt
½ teaspoon smoked paprika
½ teaspoon garlic powder
Optional: cumin, cayenne, za’atar, parmesan, or any seasoning blend you love
🍽 Substitution Tip: Want to go low-sodium? Swap salt for a sprinkle of nutritional yeast. No cornstarch on hand? Arrowroot or rice flour works just as well.
Use them as crunchy toppers for your favorite grain bowls like a herb-flecked quinoa salad or even as protein-packed crumbles over cauliflower rice.
Timing is Everything: Prep, Cook, and Finish
Crispy chickpeas don’t demand much—just a little patience and heat.
Step
Time
Prep (draining, drying, mixing)
10 minutes
Bake (toss once halfway)
40 minutes
Cool before storing or serving
10–15 minutes
⏱ Total Time: Just over 60 minutes—about 20% faster than many more complicated snack recipes.
Easy Step-by-Step Instructions for Crunchy Perfection
Preheat your oven to 400°F (200°C). Line a baking sheet with parchment.
Drain and rinse the chickpeas. Then, wrap them in paper towels and roll gently to dry. Remove as many skins as you can—they trap moisture and soften the crunch.
Transfer chickpeas to a bowl. Add oil and cornstarch. Stir to coat evenly.
Spread in a single layer on the baking sheet. Roast for 40 minutes, shaking the pan halfway through.
Remove from oven and toss chickpeas with your favorite seasonings while hot.
Let them cool for maximum crispiness before serving or storing.
Looking for a light but satisfying lunch idea? Toss these crispy bites into this chickpea salad for double the flavor and protein.
Creative Crunch: Uses, Pairings & Storage Tips
Snacking and Beyond: Where Crispy Chickpeas Really Shine
Sure, crispy chickpeas are a top-tier snack. But why stop there? I love crushing them up as a coating for baked tofu or sprinkling onto creamy soups for contrast. They bring so much texture and flavor, even a plain tomato bisque gets an upgrade.
Try adding them to this colorful buddha bowl for an Instagram-worthy finishing touch. Their satisfying crunch makes them a perfect healthy alternative to chips or croutons.
They also pair beautifully with nutty grains and roasted veggies—like some garlicky roasted broccoli—for a nutritious, balanced meal your gut will thank you for.
How to Store Crispy Chickpeas the Right Way
Homemade crispy chickpeas don’t have preservatives, so storage matters. Here’s how to keep them crisp:
Let them cool completely before transferring.
Store in an airtight container without sealing it tight—trapped moisture ruins texture.
Add a small piece of dry paper towel at the bottom of the jar to absorb excess air moisture.
At room temperature, they’re best within 3–5 days. Do not refrigerate—they’ll soften up fast. If they lose their crunch? Just re-roast them at 375°F for 5–8 minutes to bring them back to life.
Nutritious by Nature: Health Benefits You’ll Crave
Why Crispy Chickpeas Are Better Than Chips
Let’s be honest—most snacks leave you crashing an hour later. Not these. Crispy chickpeas are both crunchy and sustaining. One cup offers nearly 15 grams of plant-powered protein and more than 10 grams of fiber. That means they fill you up and keep you full.
They’re naturally low in fat (unless you go wild with oil) and contain key nutrients like manganese, folate, and magnesium. Thanks to their high protein and fiber combo, they support better blood sugar control and digestive health.
Compared to fried snacks, roasted chickpeas contain up to 60% less fat but just as much satisfaction. When you’re trying to balance indulgence and wellness, it’s hard to beat that equation.
Heart-Healthy, Budget-Friendly, and Totally Adaptable
Chickpeas aren’t just nutritious—they’re seriously affordable and endlessly customizable. At under $1 a can, they’re one of the best pantry packs for anyone eating healthy on a budget.
Plus, you can go sweet (cinnamon sugar), savory (buffalo ranch), or global (harissa-spiced). Think of them as your base blank canvas. Mix it up and discover what flavor combo makes your taste buds happiest.
Batch cooking them on Sundays has become as routine for me as prepping soup stock or roasting sweet potatoes. And it’s incredible how many ways they plug into my weekly meals. From crunchy appetizers to salad toppers to healthy grazing, it’s all possible with crispy chickpeas.
FAQs
How do you make chickpeas crispy?
Getting chickpeas crispy is all about proper drying, high heat, and a touch of oil. Pat them dry, add a little oil and cornstarch if desired, and roast at 400°F for 35–45 minutes. Toss with seasonings while still hot for maximum flavor adherence.
Are crunchy chickpeas good for you?
Yes, crunchy chickpeas are a nutritious snack. They’re high in both plant-based protein and fiber, leaving you full longer. They’re also low in saturated fat and support heart and gut health when eaten plain or seasoned lightly.
Does cornstarch make chickpeas crispy?
Definitely! A light dusting of cornstarch before roasting draws out moisture and helps create a craggier, crispier texture. It’s not required, but it improves the crunch significantly.
What oil is best for crispy chickpeas?
Use oils with high smoke points like avocado oil or extra light olive oil. They help achieve optimal crispness without burning during the 400°F roasting.
Conclusion
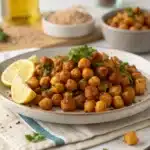
Crispy chickpeas aren’t just a trendy snack—they’re proof that eating well and eating deliciously can absolutely go hand in hand. They’re easy to make, totally affordable, and a blank slate for your boldest flavor fantasies. Whether you’re tossing them into a vibrant salad, layering them onto a bowl of roasted veggies, or just sneaking handfuls between stovetop tasks like I do, these golden nuggets of goodness are time-tested snack heroes. So grab a can, heat up your oven, and start crunching your way to the snack you didn’t know you needed.
Golden, crunchy, and endlessly customizable, these crispy chickpeas make the perfect high-protein snack or salad topper. Once you try them, you’ll ditch the chips for good.
Ingredients
Scale
1 can (15 oz) chickpeas, drained and rinsed
1 tablespoon olive oil or avocado oil
1 teaspoon cornstarch (optional)
½ teaspoon fine sea salt
½ teaspoon smoked paprika
½ teaspoon garlic powder
Optional spices: cumin, cayenne, za’atar, parmesan, or any seasoning blend
Instructions
1. Preheat oven to 400°F (200°C) and line a baking sheet with parchment paper.
2. Drain and rinse the chickpeas. Pat dry thoroughly with paper towels, removing skins for better crisping.
3. In a bowl, toss chickpeas with oil and cornstarch until evenly coated.
4. Spread chickpeas in a single layer on the baking sheet and roast for 40 minutes, shaking halfway through.
5. Remove from oven and immediately toss with your desired seasonings.
6. Let cool for 10–15 minutes to maximize crispiness before serving or storing.
Notes
For extra crunch, use cornstarch or substitute with arrowroot or rice flour.
Store completely cooled chickpeas in a loosely sealed container with a paper towel at the bottom.
Re-crisp by roasting at 375°F for 5–8 minutes if they soften.
Add to salads, grain bowls, soups, or enjoy as a standalone snack.