Disclosure: This post may contain affiliate links. As an Amazon Associate, we earn from qualifying purchases—at no extra cost to you.
If there’s one way to instantly transform your dinner routine, it’s learning how to master Instant Pot rice. As someone who’s spent decades in kitchens—both restaurant and home—believe me when I say the simplest dishes often carry the most weight. Back in Georgia, Sunday meant big bowls of perfectly buttered rice beside fried chicken and creamy gravy. Years later, as a culinary school grad and full-time home cook, I’ve experimented with stovetops, rice cookers, and yes, plenty of overboiled disasters. But once that Instant Pot hit my counter? Game-changer.
You could say I became a little obsessed with discovering the perfect method—one that offered fluffiness, versatility, and zero babysitting. Using the Instant Pot for rice now saves me time, cleanup, and my sanity on chaotic weeknights. And the beauty? It’s not just fast. It’s consistent, fool-proof, and totally customizable. Whether you’re making a hearty soup that begs for rice on the side or prepping for a spicy meal like this classic chili, Instant Pot rice makes the process smoother from start to finish.
Let’s dive into the easiest way to nail that perfect bowl every time.
Why Instant Pot Rice is the Hero of Weeknight Cooking
The Secret Sauce: Consistency Meets Convenience
Ask any home cook what they struggle most with, and you’ll find rice right up there with gravy and soufflés. Cooking rice that’s not sticky, crunchy, or scorched can feel like winning the kitchen lottery. This is where Instant Pot rice steps in and quietly says, “Relax, I got this.”
The beauty of cooking rice in an Instant Pot is all about consistency. Whether you’re using Basmati, Jasmine, or good ol’ long grain white rice, once you understand the basic water-to-rice ratio and cook time (don’t worry, we’ll cover that), it’s like flipping a switch on autopilot.
Using the Instant Pot also means not having to hover over a boiling pot with a timer. No risk of overflow, undercooking, or burning the bottom. That’s peace of mind, and it matters for your daily rhythm. Especially if, like me, you enjoy pairing rice with something satisfying like Instant Pot chicken thighs, which practically make themselves alongside it.
More Than a Side Dish: Instant Pot Rice as a Base for Bold Flavors
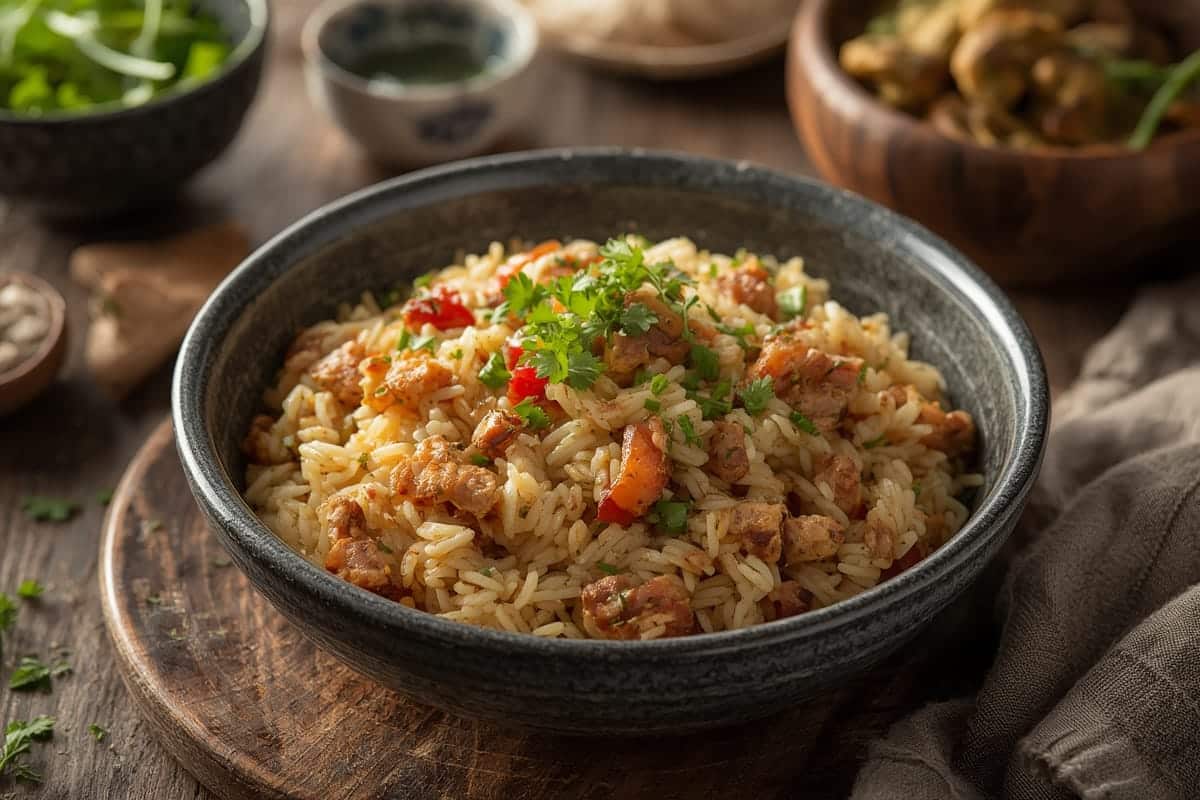
Rice isn’t just a filler—it’s a canvas. From Korean-inspired eggs and kimchi bowls to spicy taco rice (yep, I repurpose leftovers from my 5-ingredient taco soup), it’s the foundation of countless quick meals.
The Instant Pot lets that creativity happen fast. Brown rice for a nutty bite in salads, basmati for curries, or even sticky rice for wraps—you control the vibe and flavors. And get this: if you’ve never tried adding a blade of lemongrass or a pinch of turmeric to rice as it cooks, give it a go. It turns plain into extraordinary with virtually zero extra effort.
Let’s break down precisely how to prep your Instant Pot rice for success.
How to Cook Fluffy Instant Pot Rice: Ingredients, Timing, and Steps
Ingredients List
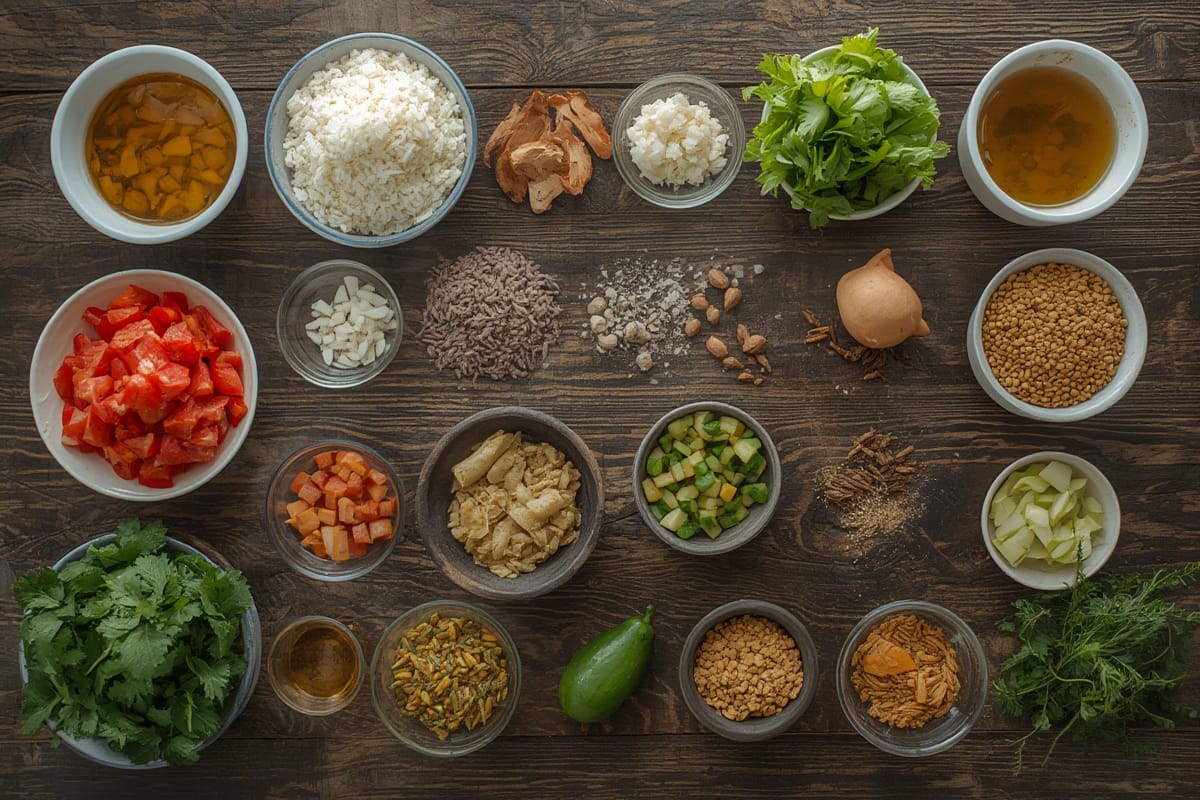
Making perfect Instant Pot rice starts with just a few essentials—but precision matters when you want those grains light and separate.
| Ingredient | Substitution/Notes |
|---|---|
| 1 cup white rice (Jasmine or Basmati) | Use brown rice or long grain for variation |
| 1 cup filtered water or broth | For added flavor, use chicken or vegetable stock |
| 1/2 tsp sea salt | Adjust to taste or omit entirely for plain rice |
| 1 tsp avocado oil or ghee | Optional, prevents sticking and adds richness |
Want to make your prep even easier? I highly recommend using this rice measuring cup or Instant Pot accessories kit for perfect proportions and fuss-free cleanup.
Timing Breakdown: How Long Should You Cook Rice?
With Instant Pot rice, timing is everything—but once you’ve got it, it’s repeatable, adaptable, and surprisingly forgiving.
- Prep Time: 2 minutes
- Cooking Time (white rice): 4 minutes (Manual or Pressure Cook on High)
- Natural Release: 10 minutes
- Total Time: About 16 minutes
Compared to traditional stovetop rice, which needs constant monitoring for 25–30 minutes, this cuts your active cook time by over 50%. Even brown rice—normally a 45-minute commitment—takes just 20 minutes with these settings recommended by the USDA.
Step-by-Step Cooking Instructions
- Rinse the rice thoroughly under cold water until the water runs mostly clear—this helps eliminate excess starch and prevents stickiness.
- Add rinsed rice, water (or broth), and salt to your Instant Pot liner.
- Pour in optional oil to coat the grains gently.
- Secure the lid, select “Pressure Cook” or “Manual” mode, and set to High Pressure for 4 minutes.
- Once the timer beeps, let the pot naturally release pressure for 10 minutes—resist the urge to quick-release early.
- Fluff the rice with a fork gently and let it sit open for a couple more minutes before serving.
For meal prep, let your rice cool, then portion into glass containers. Pair with hearty lentil or barley soups for freezer-friendly work lunches.
Pro Tips and Rice Variations Worth Trying
How to Avoid Sticky or Mushy Instant Pot Rice
The top question I get: “Why is my rice mushy or gummy?” Nine times out of ten, it comes down to either too much water or skipping the rinse.
Remember: the ideal Instant Pot rice water-to-rice ratio is 1:1 for white rice. Brown rice? Bump it to 1:1.25. This helps control excess moisture.
Other pro tips:
- Use the “Rice” button only for white rice. Stick to manual settings otherwise.
- Don’t skip the natural pressure release—it allows the rice to finish gently steaming.
- Consider using a natural non-stick spray or this BPA-free steamer insert if you’re doubling or tripling the batch.
Exciting Flavor Boosts and Add-Ins
Plain rice is a blank page. But you? You’re the storyteller. Try these easy ways to upgrade:
- Swap water for low-sodium broth.
- Toss in a bay leaf or cardamom pods before cooking.
- Stir in fresh herbs (like parsley or cilantro) after cooking.
- Add turmeric or saffron for golden hue and subtle spice.
Looking to prep flavors ahead? A handy trick is to store pre-measured rice portions with dried spices in reusable bags to grab and dump when needed. Bonus points for using a vacuum sealer to keep things fresh.
Batch Cooking, Meal Prep, and Storage Tips
Meal Prep Like a Pro with Instant Pot Rice
One of the biggest perks of Instant Pot rice? It begs to be batched and frozen. Cook once, eat all week. That’s my kind of kitchen logic.
Here’s a play-by-play:
- Let freshly cooked rice cool to room temperature.
- Use a multi-compartment storage container for portion control.
- Store in the fridge for up to 5 days or freeze in flat freezer bags for up to 2 months.
Warm up rice quickly by adding a splash of water and microwaving covered for 1–2 minutes. Or stir it into a Panera-style soup for an even cozier bowl.
Storage Safety Tips You Shouldn’t Skip
Rice contains spores that can thrive if left sitting out too long. Always cool your rice within an hour of cooking and refrigerate promptly.
Also, label your frozen rice with a marker and the date it freezes. Trust me, after a month, white rice and brown rice start looking mighty similar in icy bags.
Using a microwave rice reheating mat can prevent drying during reheating. It works like magic—and keeps your rice fluffy throughout the week.
FAQs About Instant Pot Rice
❓ What is the water-to-rice ratio for Instant Pot rice?
The perfect ratio is 1 cup water to 1 cup white rice. For brown rice, use 1.25 cups water for every cup of rice.
❓ How long should you cook rice in the Instant Pot?
White rice cooks in 4 minutes on High Pressure, followed by a 10-minute natural release. Brown rice usually takes 20 minutes on High Pressure with the same release.
❓ Why is my Instant Pot rice sticky or mushy?
This usually comes from skipping the rinse or using too much water. Rinse your rice well and stick to the recommended ratios.
❓ Can you meal prep Instant Pot rice for the week?
Absolutely. Store cooked rice in airtight containers in the fridge for up to 5 days or freeze it for longer storage.
Conclusion: Make Instant Pot Rice a Kitchen Staple
Simple. Satisfying. Reliable. Instant Pot rice isn’t just another side—it’s a foundation. With the right method, you’ll never deal with scorched pots or watery piles again. Whether you’re pairing it with comforting soup bone broth meals or using it as a base for leftovers, the Instant Pot delivers delicious rice every single time.
Try it once, and I promise—your stovetop won’t see plain rice again.
PrintPerfect Instant Pot Rice
- Total Time: 16 minutes
- Yield: 3 servings 1x
Description
An easy, foolproof method for making fluffy, flavorful rice in the Instant Pot in under 20 minutes—ideal for meal prep or pairing with soups.
Ingredients
1 cup white rice (Jasmine or Basmati)
1 cup filtered water or broth
1/2 tsp sea salt
1 tsp oil (optional)
Instructions
Rinse rice in cold water until the water runs mostly clear.
Add rice, water or broth, salt, and optional oil to Instant Pot liner.
Close the lid, set to Pressure Cook or Manual on High for 4 minutes.
Let pressure release naturally for 10 minutes before opening.
Gently fluff the rice with a fork and serve.
Notes
Use a 1:1 ratio for white rice; 1:1.25 for brown rice.
Add herbs or spices to customize flavor.
Store leftovers in airtight containers for up to 5 days.
- Prep Time: 2 minutes
- Cook Time: 4 minutes
- Category: Side Dish
- Method: Pressure Cooked
- Cuisine: Global
Nutrition
- Calories: 205
- Fat: 2g
- Carbohydrates: 45g
- Fiber: 0g
- Protein: 4g
- Cholesterol: 0mg
Keywords: Instant Pot rice, rice meal prep, easy rice recipe