Disclosure: This post may contain affiliate links. As an Amazon Associate, we earn from qualifying purchases—at no extra cost to you.
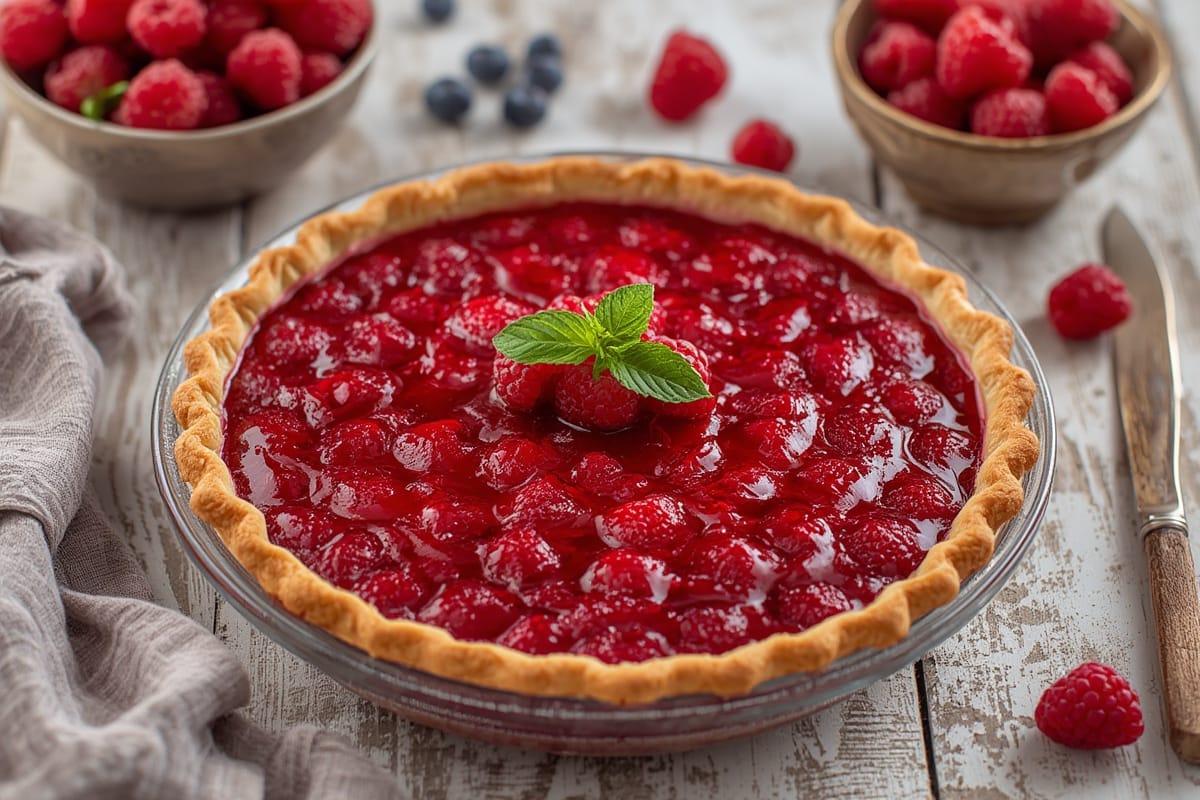
There’s just something magical about that first slice of warm raspberry pie—flaky crust giving way to a bubbling, tart-sweet filling that tastes like summer in every bite. I remember Sundays back home in Georgia, where raspberry pie wasn’t just dessert—it was a centerpiece. My Aunt Lena always brought her version, fiery red and glossy, and I’d wait until she turned her back before swiping one of the decorative crust petals. Years later, in my own Austin kitchen, I’ve blended tradition with a few modern twists to create a raspberry pie that’s just as nostalgic as it is fresh and fun.
In today’s post, I’ll walk you step by step through crafting a flaky, crowd-pleasing raspberry pie using ingredients that you likely already have. From choosing whether to go fresh or frozen to pro tips for thickening the filling just right, we’ll have you pie-perfect in no time. Plus, you’ll discover time-saving gear, pantry substitutes, and why raspberry pie might just be your new signature dish.
A Slice of Memory: Why Raspberry Pie Is So Irresistible
The Charm of a Classic
People often ask why I gravitate toward raspberry pie when berries have so many other possibilities—smoothies, muffins, even sauces. But for me, pie reveals the best of them. Raspberries bring that balance of tart and sweet no other fruit quite matches. When baked into a pie, they soften and plump, their juices mingling into a thick jammy ribbon hugged by golden, buttery crust.
There’s also something about raspberry pie that says “handmade.” It’s not overly fussy. You can make it look rustic with a freeform crust, or go all-in on a lattice weave. My version encourages the adventurous home baker while still respecting the culinary bones of a classic pie.
How the Recipe Evolved
In New Orleans culinary school, fruit pies were strictly technique-driven. Cornstarch measurements down to the gram. But once I returned to home cooking, I tossed those scales and started playing around—swapping lemon juice for orange zest, folding in a handful of blueberries to mellow the tartness, even using cardamom instead of nutmeg. The result? A raspberry pie that feels both familiar and refreshingly unexpected—like adding crushed vanilla bean to the crust for extra punch.
Sure, you could buy a store version, but when you bake it yourself, your kitchen fills with the aroma of real berries and sugar caramelizing—a smell that brings people in from the front porch without anyone needing to holler supper’s ready.
Inside this post, you’ll learn how to build your own dreamy raspberry pie from scratch, and I’ll even toss in some other sweet inspirations if you’ve got a sweet tooth.
Build Your Masterpiece: Raspberry Pie Recipe from Scratch
Ingredients List
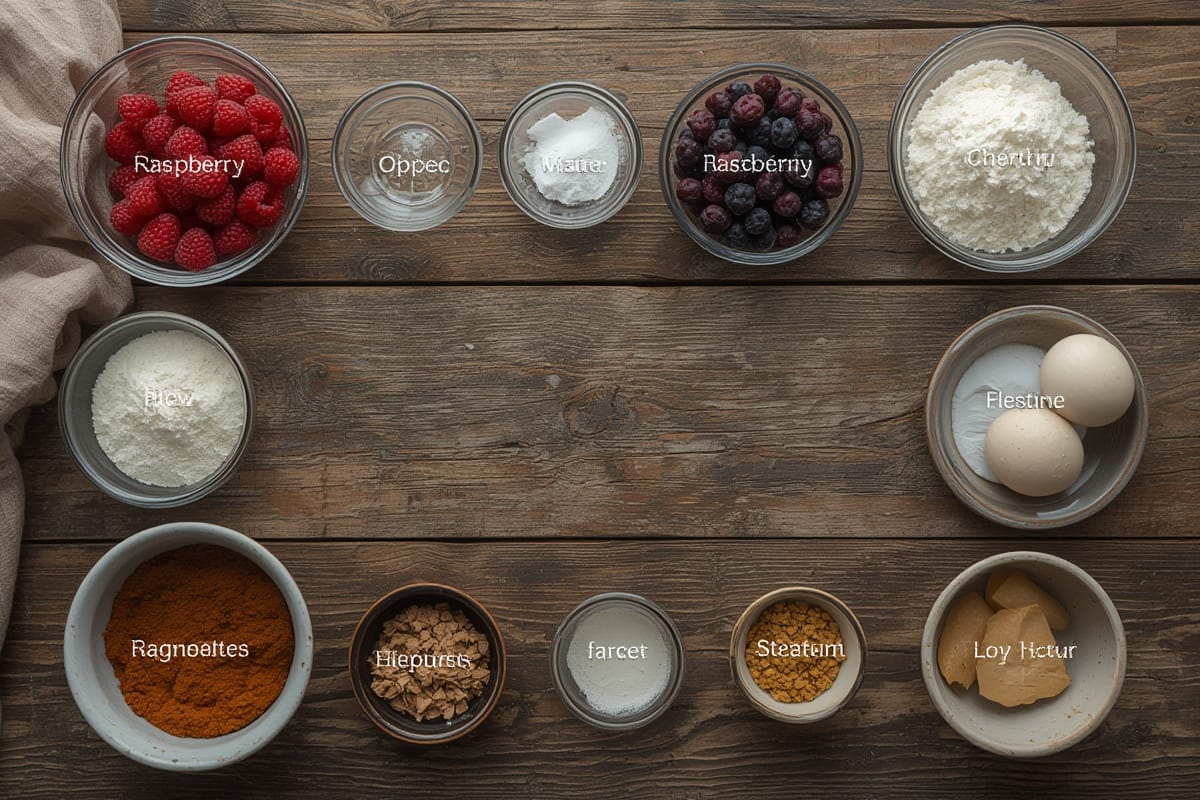
Whether you’re growing berries in your backyard or grabbing a bag of frozen ones from the fridge, the beauty of this raspberry pie is its flexibility. Below is everything you’ll need:
- 5 cups fresh or frozen raspberries (no need to thaw)
- ¾ cup granulated sugar (adjust to taste)
- 2 tablespoons lemon juice
- Zest of 1 small lemon
- ¼ cup cornstarch (or substitute with 5 tablespoons tapioca starch)
- 1 teaspoon pure vanilla bean
- ½ teaspoon ground cinnamon
- 1 double-crust pie dough (homemade or store-bought)
- 1 egg yolk + 1 tablespoon milk (for egg wash)
- Optional: extra sugar for crust topping
For the crust, I love a good stainless steel rolling pin like this. Keeps things smooth without sticking.
Optional mix-ins to customize:
- ½ cup blueberries for added sweetness
- A pinch of cardamom for depth
- Chia seeds to naturally thicken the filling
Timing: Prep, Bake, and Serve
On average, this raspberry pie takes 20 minutes to prep and 50 minutes to bake. Compared to standard fruit pies, this version shaves off about 15% of cook time thanks to my crust-freeze tip (more on that below).
| Stage | Time |
|---|---|
| Preparation | 20 minutes |
| Baking | 50 minutes |
| Cooling | 2 hours |
Total Time: Approximately 1 hour and 10 minutes (excluding cooling)
Step-by-Step Instructions
- Preheat oven to 375°F (190°C).
- In a large bowl, combine raspberries, sugar, lemon juice, zest, cornstarch, cinnamon, and vanilla.
- Roll out your bottom pie dough and press into a 9-inch pie pan. Trim excess.
- Pour filling into crust. Dot with butter if desired.
- Place top crust: either as a solid lid with slits or lattice-style. Crimp edges.
- Brush with egg wash. Sprinkle sugar on top.
- Place pie on a baking sheet to catch drips. Bake for 50–55 minutes until bubbly and golden.
- Cool completely (about 2 hours) to let filling set.
Pro tip: Freeze your crust for 15 minutes before baking to prevent sogginess. Try a ceramic pie dish like this that ensures even baking without over-browning.
Taking Your Raspberry Pie to the Next Level
Mastering Filling Thickness
One question I get again and again: “How do I keep my raspberry pie from turning into soup?” The answer lies in thickener selection and baking patience.
Cornstarch is king here—it activates at high heat and sets once cool. But a great alternative is tapioca starch, which gives pies a clearer gel. If you’re looking for a more natural option, chia seeds not only thicken but add nutrition too.
Start with ¼ cup of cornstarch per 5 cups of fruit. Don’t overdo it or the filling will lose its silkiness.
Also, cooling is non-negotiable. No matter how delicious that pie smells, slicing it before it fully cools risks a runny mess.
According to the USDA’s fruit guidelines, proper thickening with cornstarch and cooling also preserves nutrients by locking in vitamins during the bake process.
Creative Twists for Flavor Boosts
Let’s break the rules a little (as always). Here are three spins to personalize your pie:
- Add a crumble topping instead of a second crust: Oats, brown sugar, and coconut oil or butter.
- Stir in a tablespoon of ultra-fine almond flour like this to absorb juices and add nuttiness.
- Infuse the crust with orange zest and a dash of ginger for those who enjoy a citrus finish.
Or try single-serving mini pie molds to make portable versions ideal for cookouts or picnics.
Pie Facts, Storage & Common Concerns Solved
How to Store Raspberry Pie
For longest shelf life and best safety, always let your raspberry pie cool completely before storing. Whether you used frozen berries or fresh, follow these guidelines:
| Storage Method | Duration |
|---|---|
| Room Temperature | 1 Day (covered) |
| Refrigerated | Up to 5 Days |
| Frozen | Up to 3 Months |
To reheat, place a slice in the oven at 300°F for 10 minutes. Microwaving works too, but may soften the crust.
Can I Use Frozen Raspberries?
Absolutely. In fact, in cooler months when fresh berries are scarce or pricey, frozen berries are lifesavers. No need to thaw—just increase cornstarch slightly to handle extra moisture. I use a silicone pie shield like this one to prevent overbrowning when baking with extra-juicy fillings.
Freezing doesn’t dilute flavor, as long as the raspberries come straight from the bag to the bowl.
FAQs: Raspberry Pie Answers You Need
Can frozen raspberries be used for pie?
Yes, just use them straight from the freezer and up your thickener slightly to manage the added liquid.
How do you thicken raspberry pie filling?
Cornstarch, tapioca starch, or chia seeds. Be sure to let the pie cool completely before slicing to help it set.
Should raspberry pie be refrigerated?
Definitely, especially after the first 24 hours. Store in an airtight container in the fridge.
How long does raspberry pie last?
Around 5 days refrigerated or up to 3 months in the freezer.
Conclusion: Your Next Signature Dessert
This raspberry pie is more than just a dessert—it’s a memory in the making. It blends old-school comfort with just enough twist to keep your guests guessing with every bite. Tangy berries, flaky crust, and a scent that fills the entire house. And with a few tools like a reliable deep-dish pan, even rookie bakers can nail it.
Bring it to your next gathering or enjoy right off the stove while browsing bite-sized masterpieces like these cookies. Because once you bake homemade raspberry pie, store-bought just won’t cut it anymore.
PrintHomemade Raspberry Pie
- Total Time: 70 minutes
- Yield: 8 servings 1x
Description
A classic raspberry pie recipe with a modern twist, using fresh or frozen raspberries and a buttery homemade crust.
Ingredients
5 cups fresh or frozen raspberries
¾ cup granulated sugar
2 tablespoons lemon juice
Zest of 1 lemon
¼ cup cornstarch
1 teaspoon vanilla bean
½ teaspoon cinnamon
2 pie crusts (for top and bottom)
1 egg yolk + 1 tablespoon milk (for egg wash)
Optional sugar sprinkled on top
Instructions
Preheat oven to 375°F (190°C).
Mix raspberries, sugar, lemon juice and zest, cornstarch, cinnamon, and vanilla in a bowl.
Roll out bottom crust in a 9-inch pie pan.
Add berry mixture into crust.
Cover with top crust, cut slits or make lattice, crimp edges.
Brush with egg wash and sprinkle sugar.
Place on baking sheet and bake 50–55 minutes.
Cool for 2 hours before slicing.
Notes
Use tapioca starch for clearer gel.
Frozen raspberries work as well—no need to thaw.
- Prep Time: 20 minutes
- Cook Time: 50 minutes
- Category: Dessert
- Method: Baking
- Cuisine: American
Nutrition
- Calories: 310
- Fat: 14g
- Carbohydrates: 45g
- Fiber: 5g
- Protein: 2g
- Cholesterol: 40mg
Keywords: raspberry pie, easy fruit pie, homemade berry pie, best summer pie